It’s a DIY day again! Now you might wonder, photography isn’t my profession, so why would I want to make a mini lightbox? Well… besides being a fun craft activity when you make one, a mini lightbox can come in very handy for anyone.
For example, if you want to sell off second-hand items online, you need to take a photo of each item and upload it. Using a mini light box will make your photos look super professional – just like the product photos you see on shopping stores online. Grab the attention of potential buyers faster, declutter your life, and earn some extra cash in the process!
So let’s begin.
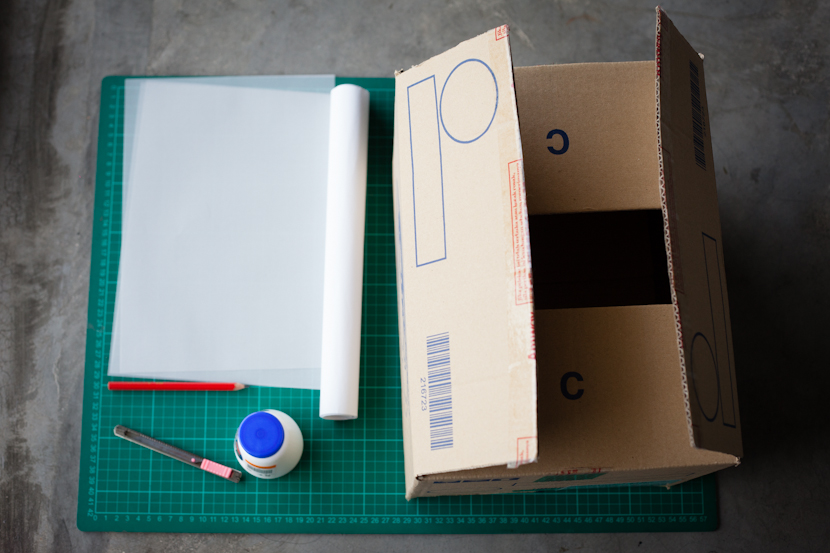
You will need:
1. A cardboard box. Any size!
2. A few sheets of tracing paper. (At least three sheets)
3. A small roll of Mahjong paper. Measure according to the length of the box.
4. Pen knife, scissors, pencil, paper glue or clear tape
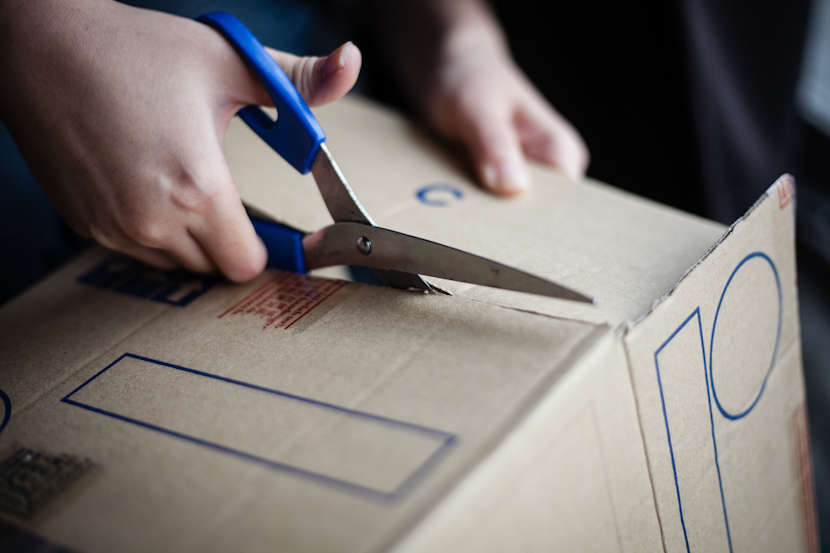
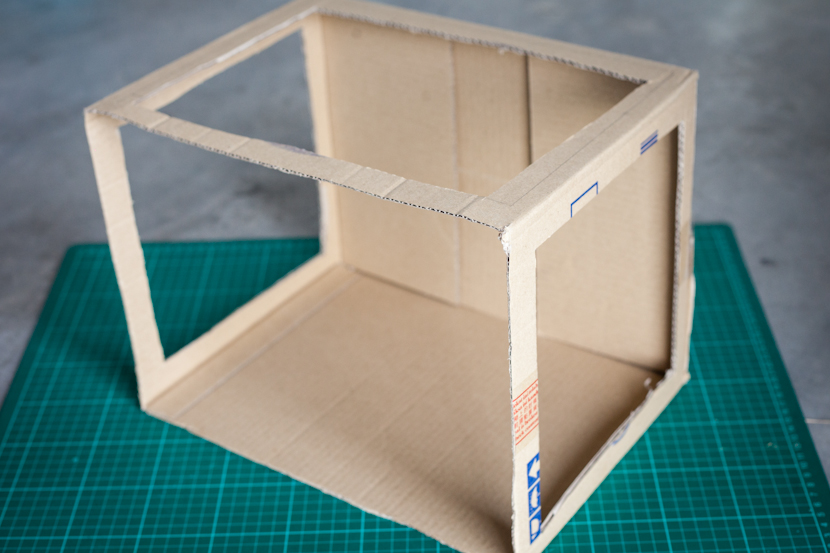
Step 1: Use a pair of scissors to cut away the top flaps on the box.
Step 2: Use a pen knife to careful cut the sides of the boxes, creating windows at the sides. The windows should be big enough to allow a lot of light into the box, but not too big that it destroys the frame of box.
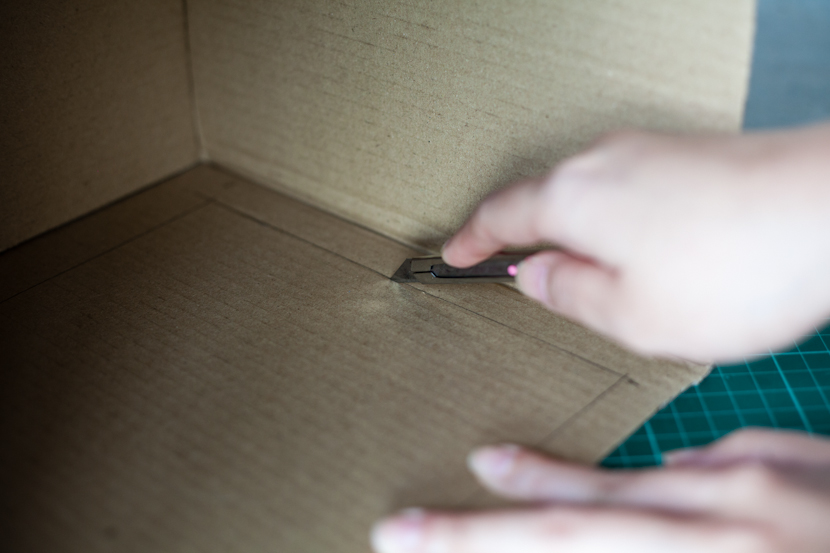
Note that you only need to create three windows out of the 4 sides of the box. It should look like this:
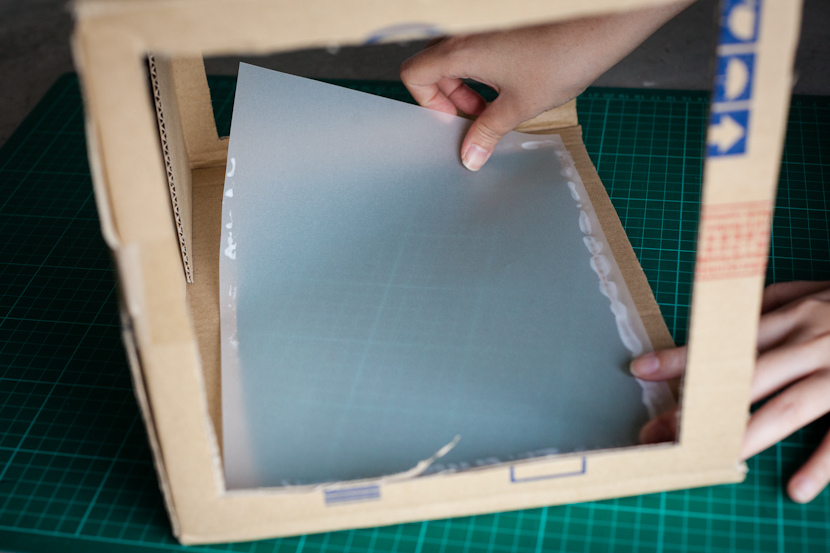
Step 3: Apply glue onto the edge of the window.
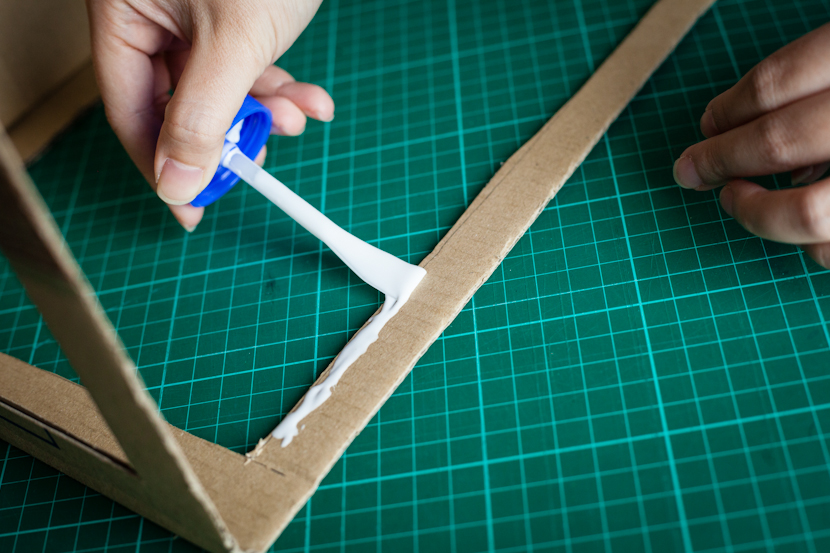
And then paste the tracing paper onto the edges. Alternatively, you may use clear tape instead of glue.
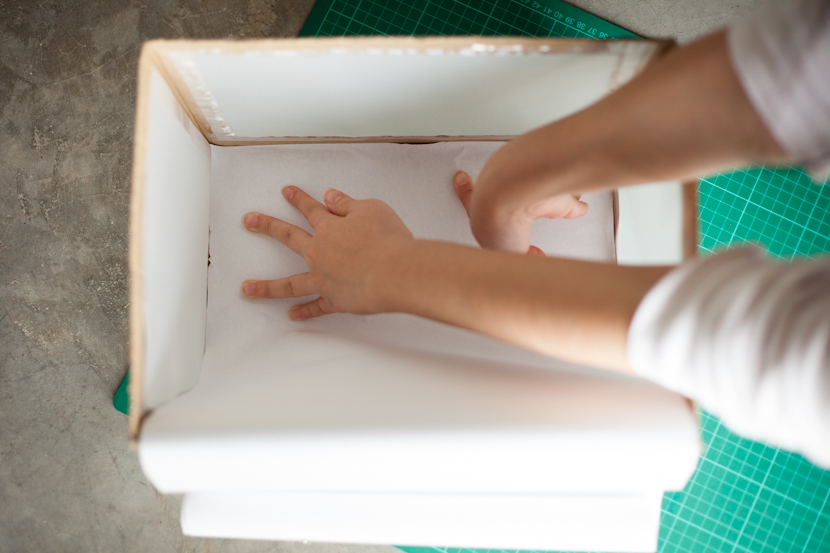
Step 4: Apply glue (or use clear tape) to paste your backdrop securely onto the bottom of your box. Be sure to only apply glue onto the top of your paper, so that the paper will fall naturally onto the base of the box, creating a seamless backdrop.
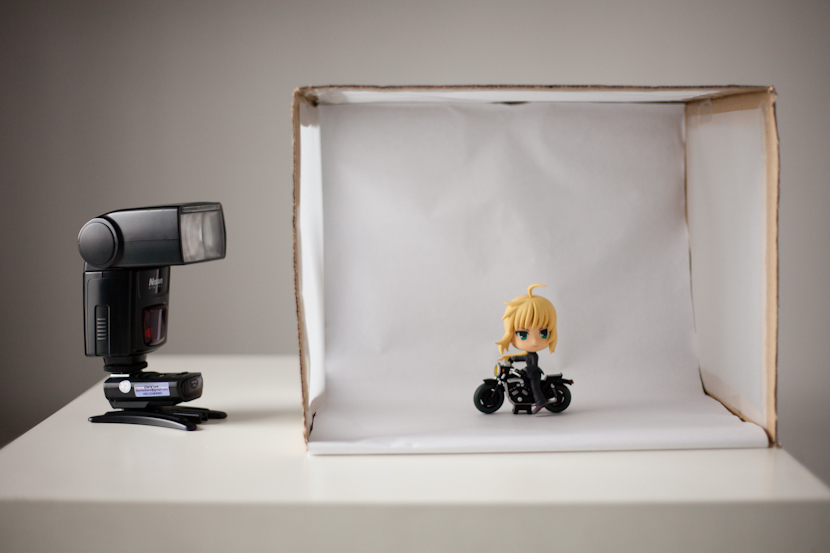
Step 5: Set up your light source and shoot away!
The set up shown here uses an external camera flash as a light source, but don’t let that limit you if you don’t have one. You can even use a table lamp. Having different light sources from different directions will give you different effects. Experiment!
Here’s a shot of an anime figurine as an example. This is one sure way to make photos of your second-hand things look good online and get interested buyers!

Have fun! :)
[Editor’s note: This article was originally written by Diane, a previous team member at Stories.my. She loves art and craft and often shared her easy craft ideas with us. This article has been updated on 7 August 2020]
Nooo the figure is from lucky draw
Very nice!!!!!!
Yeah … nice triks …