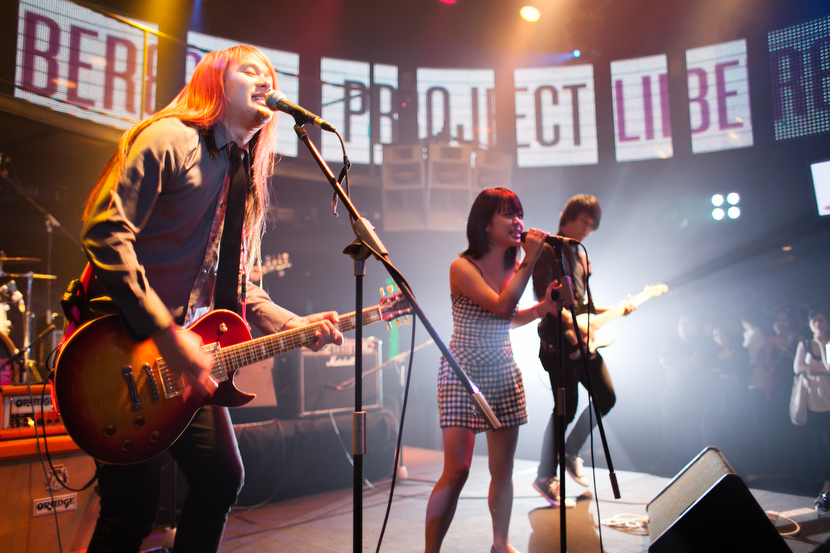
I recently volunteered to photograph a charity event for Project Liber8, which is a human trafficking awareness campaign. They have invited some local bands to play at Zouk KL, it was a rocking night with powerful music and talent, coming together to bring awareness against human trafficking! Real powerful stuff.
As for photography experience, I have to say, it’s different from what I am so used to shooting for our clients at Stories! Here’s what I can share with you from the experience I gained.
1. Get an all-access pass
Extremely important. Getting permission to move freely to shoot is very crucial as creativity should not be restricted! That way, you can get different angles, and it will make your photography experience better. These passes are not easy to get, especially if you do not have connections with the organizers. Nevertheless, it’s no harm to ask. Sometimes they will grant it to you. :)
2. Get close
Work close to the stage to get different angles. If you are shooting from afar without a proper zoom lens, your subject on stage will look too small and will lose its impact (unless, of course, your intention is to take a picture of the crowd with the artists). Again, the all-access pass will come in handy in this situation.
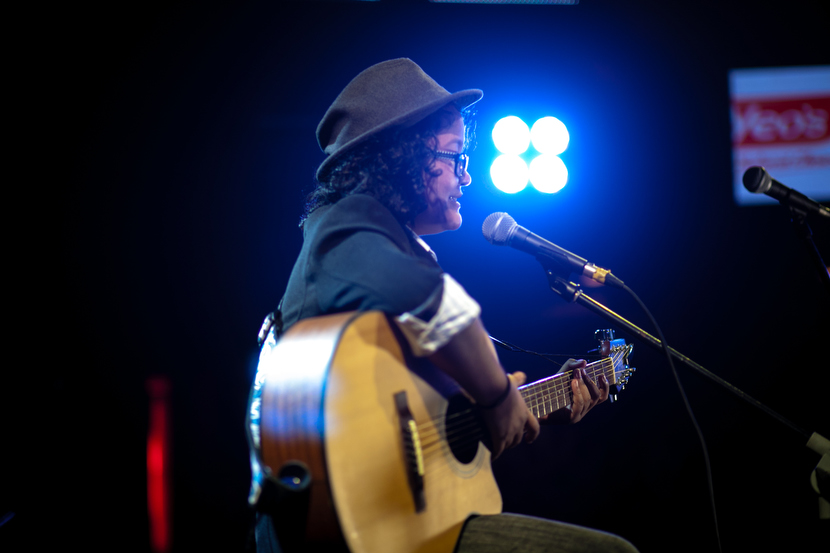
3. Understand the light
Stage lighting changes in terms of colour and intensity frequently, so it sometimes varies from bright to dark within a split second. But generally, it is bright, so you can set your ISO between 400-800 and that should be good enough. Using a fast prime lens that has a wide aperture does help with the varying lighting conditions.
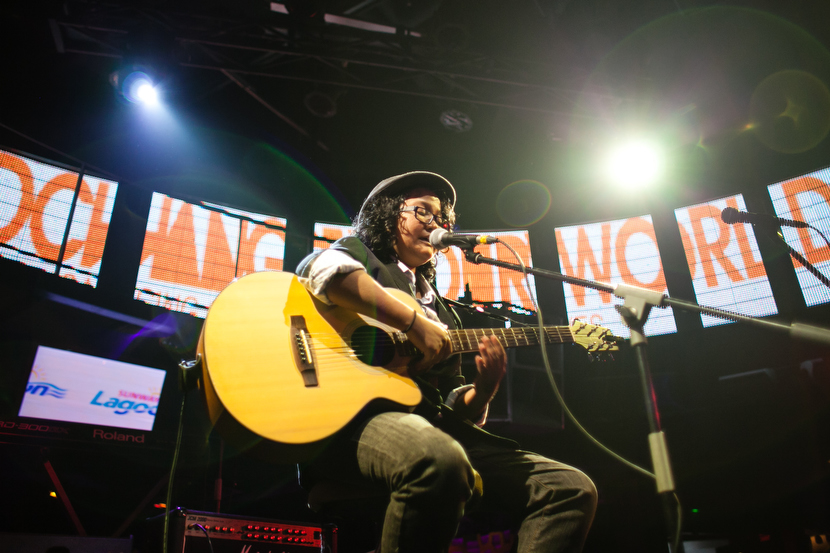
4. Using the flash
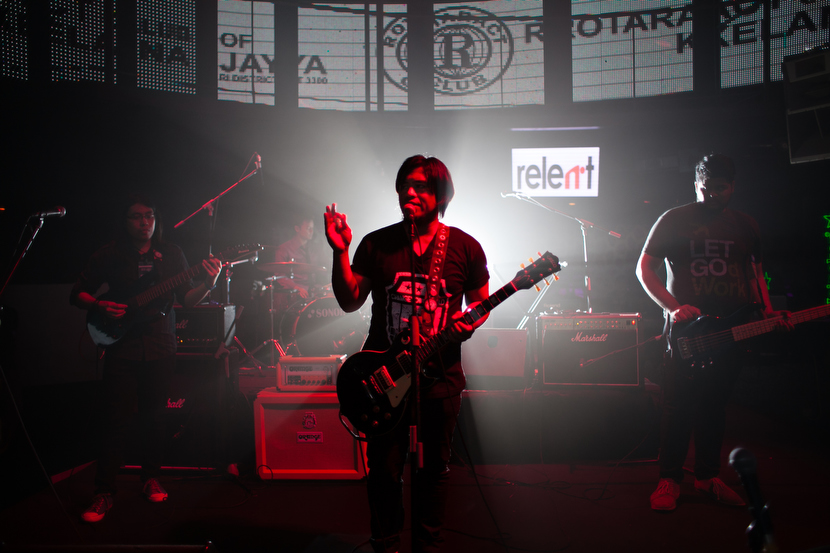
Don’t try and bounce your flash light at the subject… there is no white wall to bounce the flash to the subject in the first place! Direct flash will make your images look flat, and therefore it is a no-no. If lighting is really bad at the location, or if you are in the mood for experimentation, try setting up your flash to fire wirelessly. For this shot, I set up my flash directly behind the main singer of the group and the results are interesting, I must say!
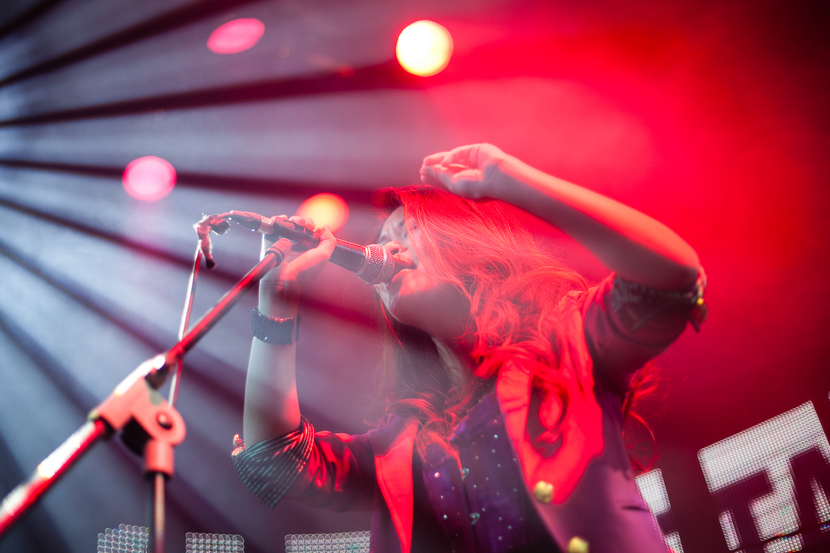
5. Post-process it to black and white
Red light is a very strong colour and it tends to not be ‘so kind’ to your images. So it’s challenging to get the skin tone right. You can deal with it by post processing the images to black and white like this image below. The red image on the left is the original colour, the one on the right a Black & White version.
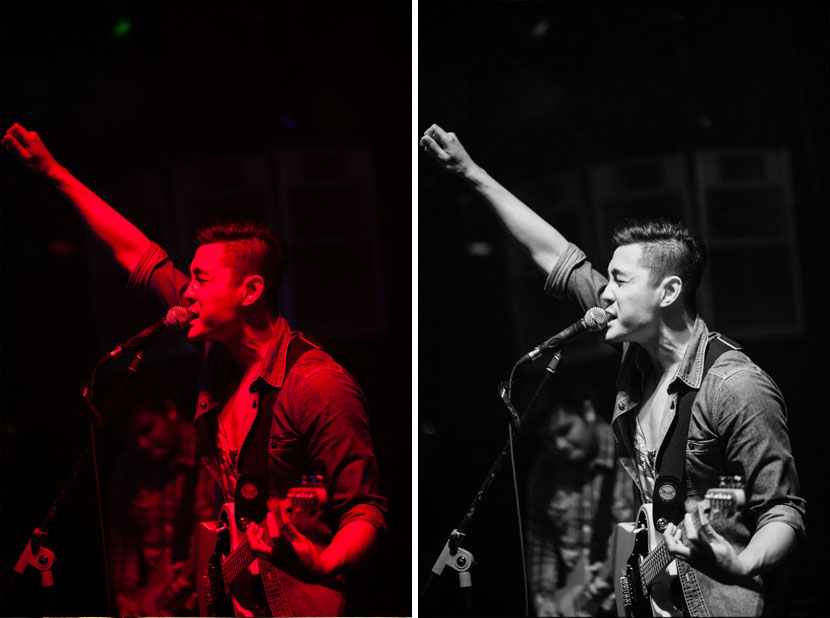
Some images are simply more powerful in black and white.
6. Click away!
As stage lighting is constantly changing, your exposure needs to change along with it. It will take a while to get the correct settings right initially, but you should get used to it after several tries. Just keep on practicing and have fun!
great pics!
If do you get good photo when using a high ISO in ur camera? If I dont use it, my photo would be too dark. Could you help me?
Hi Rexamale,
If the lighting is not very good (low lighting, dark), we do increase our ISO so that we get a better exposure. The more expensive cameras do have better noise control so it really depends on your camera. Otherwise, you have to add lighting, like an external flash.