Don’t you just love the creamy background blur that Grace and the team get on our pictures? :)
I remember one of the deciding factors that drove me to purchase my first DSLR is the ability to produce bokeh. The word “bokeh” is essentially a Japanese word for blur. In photography, bokeh is used to describe the blur that is behind the focused subject. It is typically produced when one shoots with a large aperture, like f2.8 and below. Therefore, prime leses, such as the 50mm f1.8, 85mm f1.2, 35mm f1.4 and others will give you pretty bokeh.
Normally bokeh is round, sometimes it’s hexagon, according to the shape of your aperture opening. Well, they are great, but boring. (Yawns) So I am going to show you how to change the shape of your bokeh to look like this:

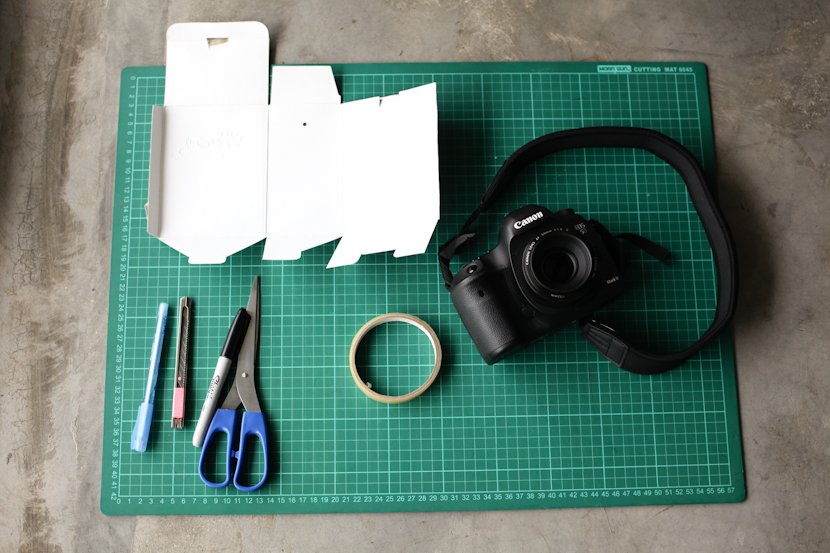
You will need:
1. Cardboard. Go green, don’t have to purposefully purchase it. Use your unwanted cereal box. They work great!
2. Your DSLR with a prime lens. (the nifty 50mm f1.8 will do!)
3. Pen, marker, scissors, pen knife and clear tape.
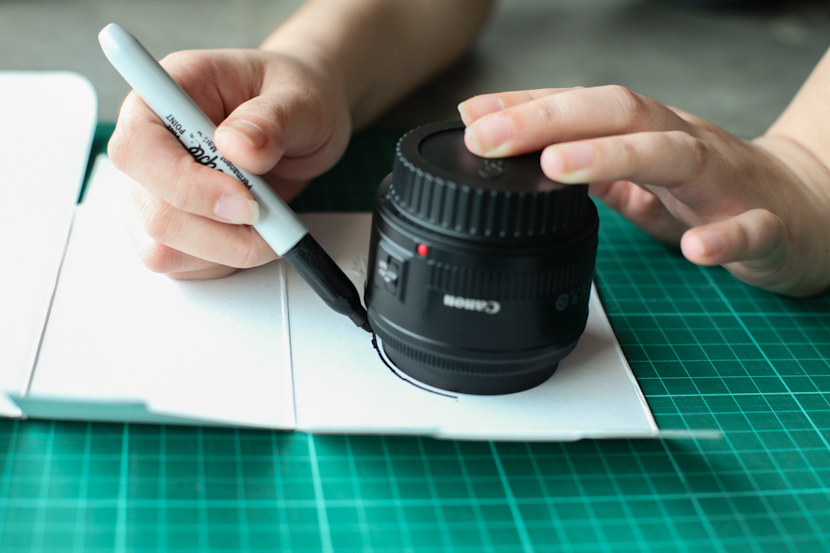
Step 1: Place the front of your lens vertically onto your cardboard and trace the circumference with a marker.
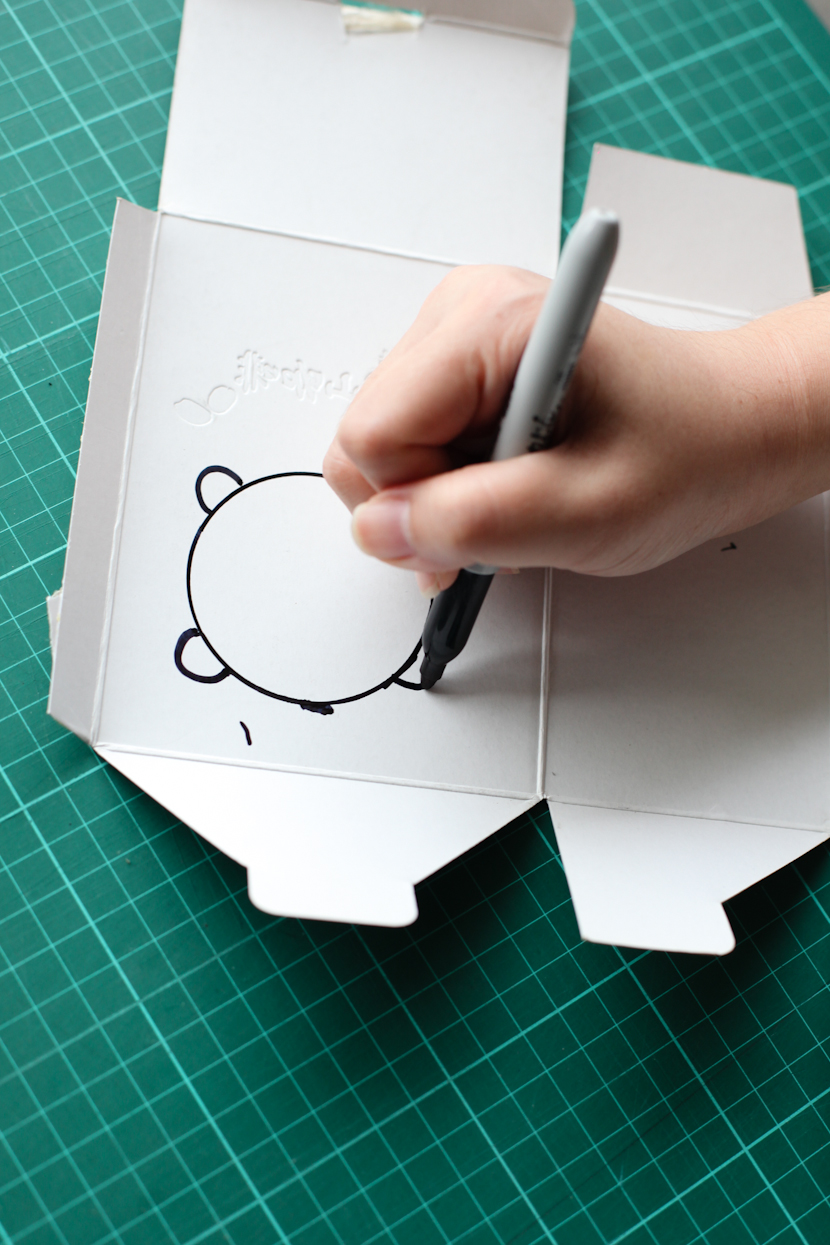
Step 2: Draw little “ears” on the circle that you have created and cut the board according to the drawn outline.
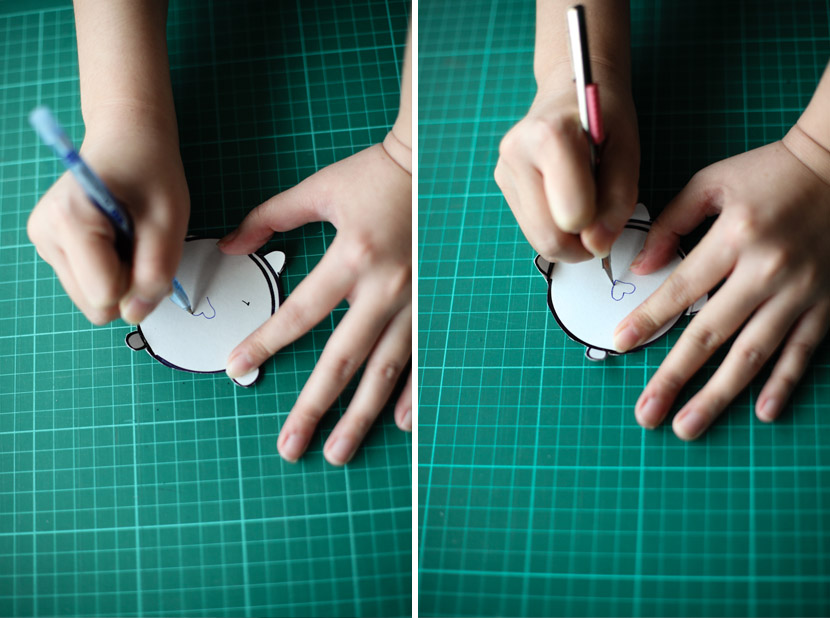
Step 3: Draw a shape that you like- it can be a heart shape, diamond or even a unicorn, if you like. Then cut the shape out.
Step 4: Cut a strip of the cardboard and measure it around your lens. Use a small strip of clear tape to tape the strip together, so it forms a small tube. This should fit loosely to the lens.
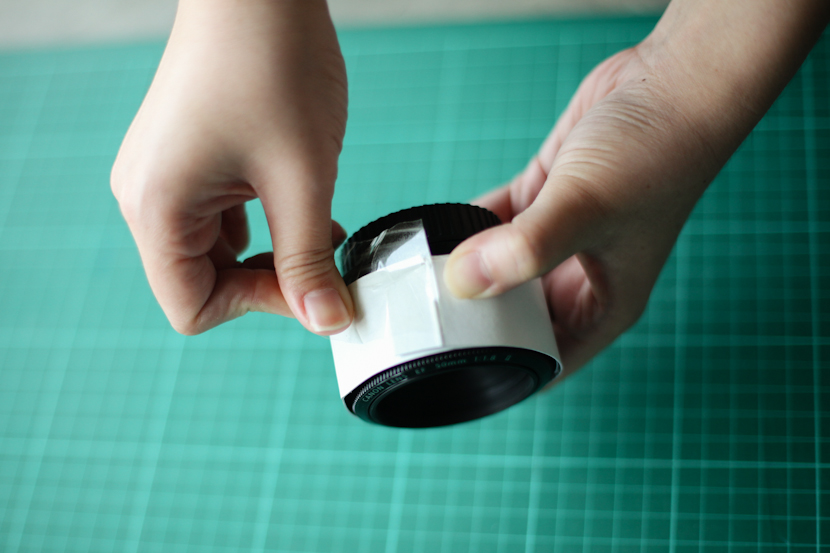
Step 5: Fold the “ears” on the round cardboard and paste it to the tube.
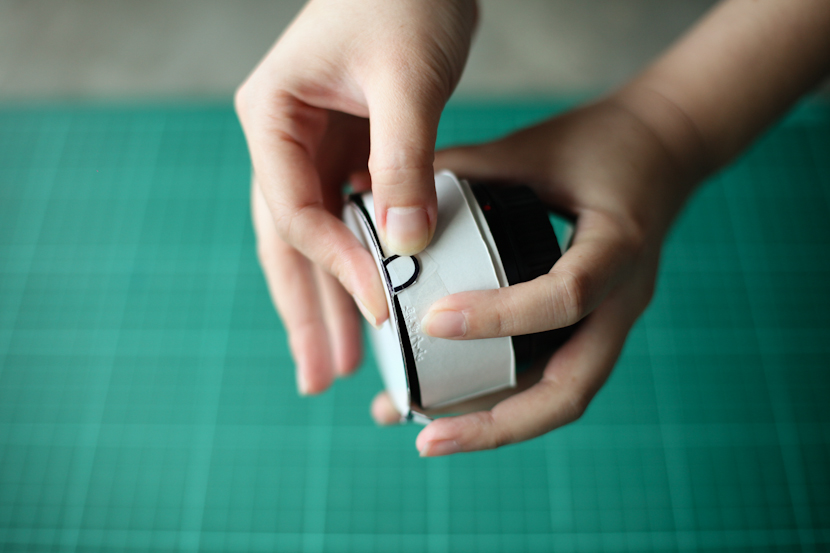
And now you are set to go!
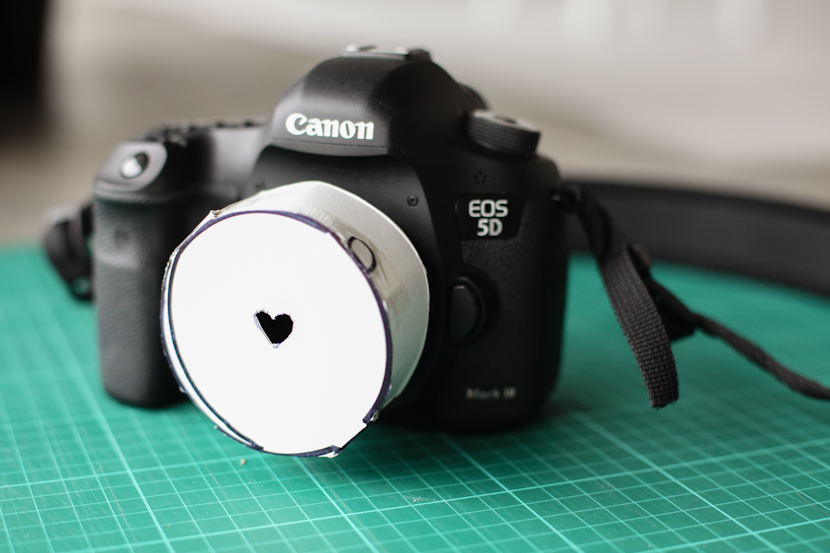
Here’s what you’ll be able to achieve: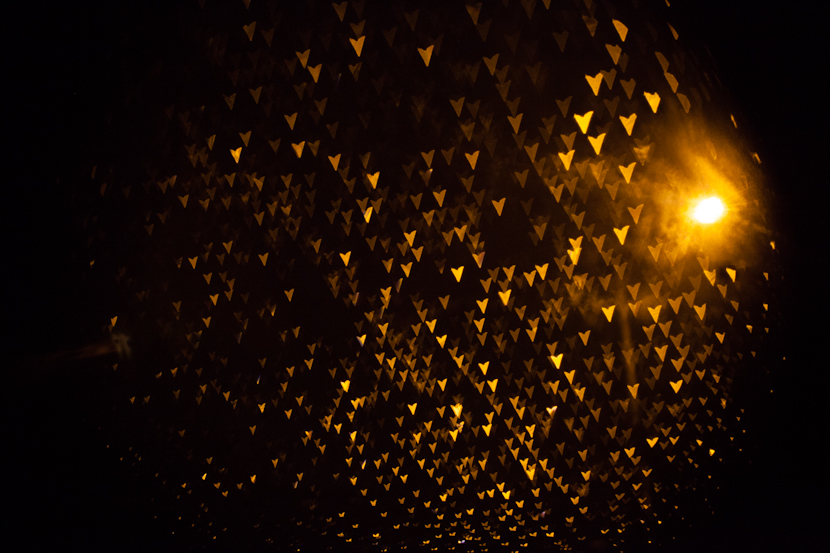
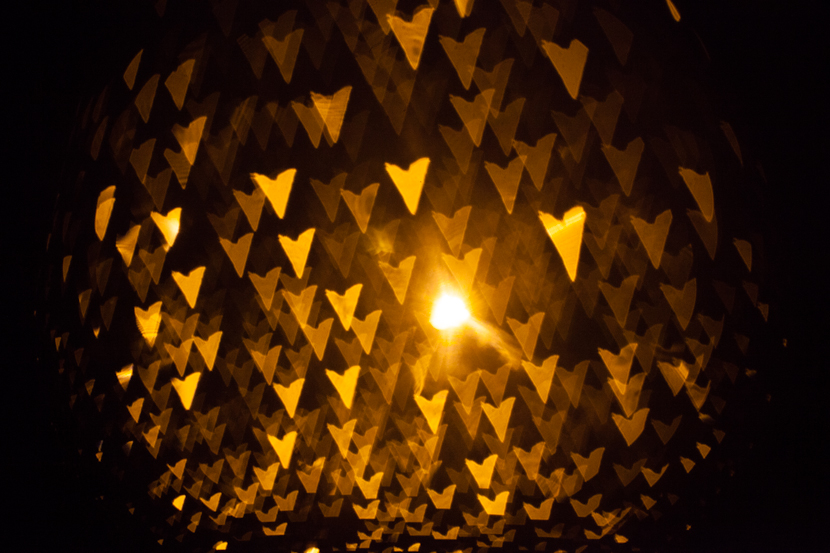
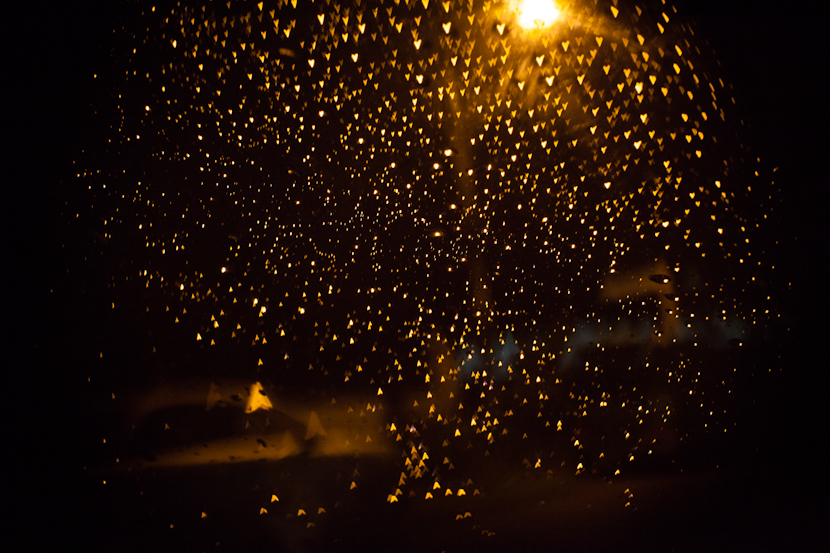
The trick to these shots, other than having your settings right and shooting with your aperture wide open, is to shoot it using manual focus. The picture below shows a shot where my lens have focused on the water droplets, therefore the bokeh is not formed on the droplets, but on the background instead.
 The droplets are focused. Hence, the effect is not achieved. Meh.
 Effect achieved when the droplets are not focused. Yay!
Have fun!

Great post! These interesting effects are surprisingly easy to create. If I’m not mistaken, this is one of the many tricks taught in Evan Sharboneau’s tutorial : http://goodphotography.info/e_specialeffects
Oh! How cool!Thanks, I’ll make sure to try this out! :D It looks so cute!Keep up the good work, Stories. :)