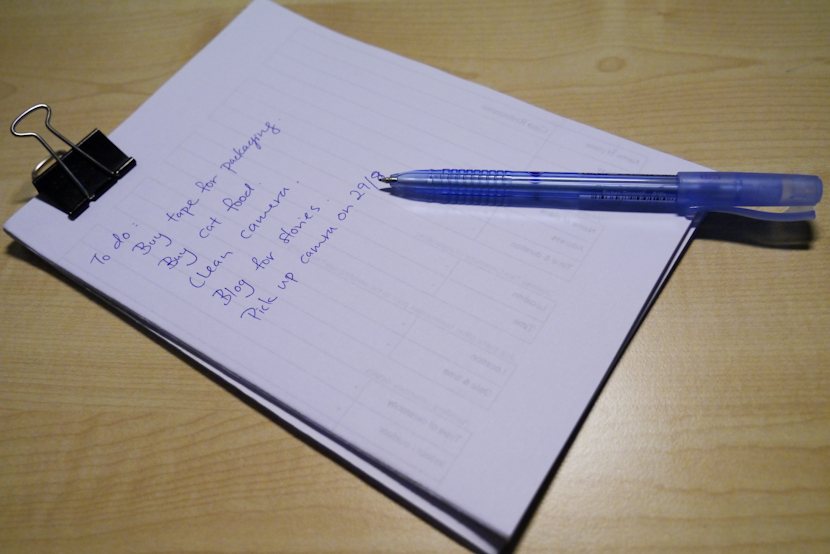
Remember the days where you would print out all your photos – even the most random ones? Well, if they’re still around – don’t throw them! Use them to make a DIY notebook! And if you have tons of scrap paper lying around – especially the ones that were only used on one side – this DIY hack will help you save some trees.
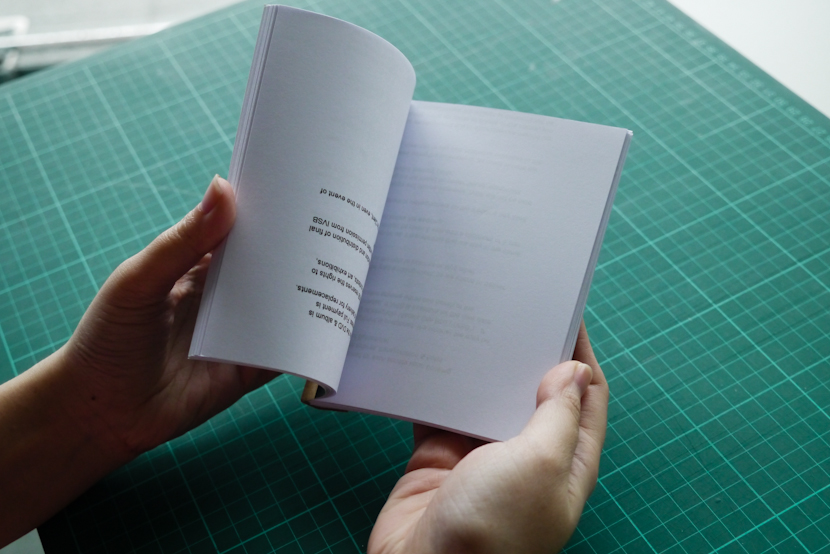
Some people cut them in half to create a raw notepad like this:
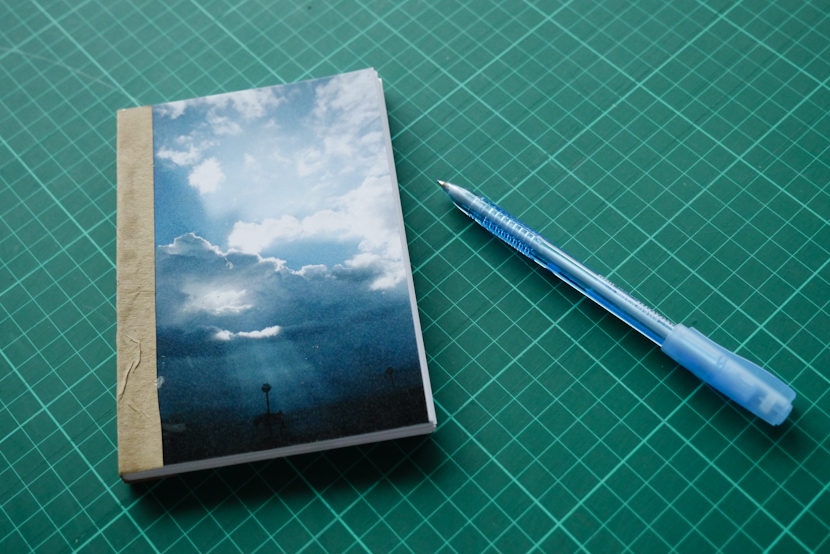
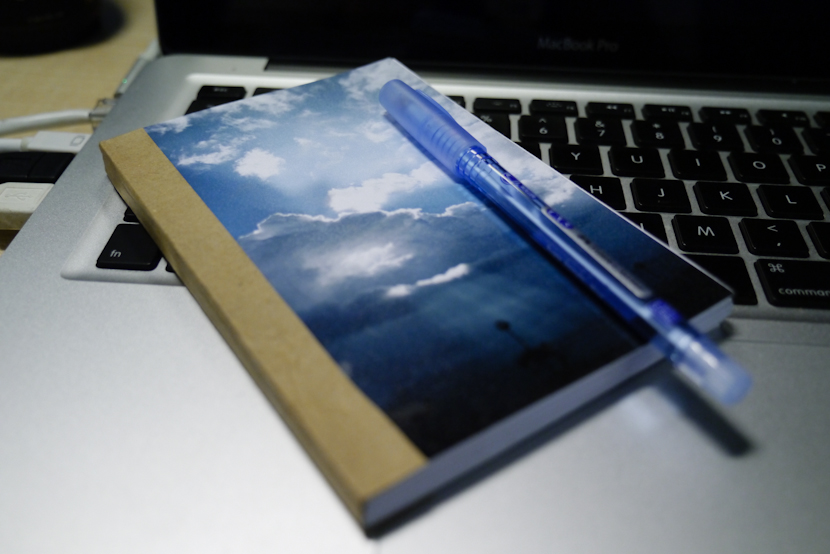
But why not take it a step further, and personalise your notebook so it looks more like this one below?
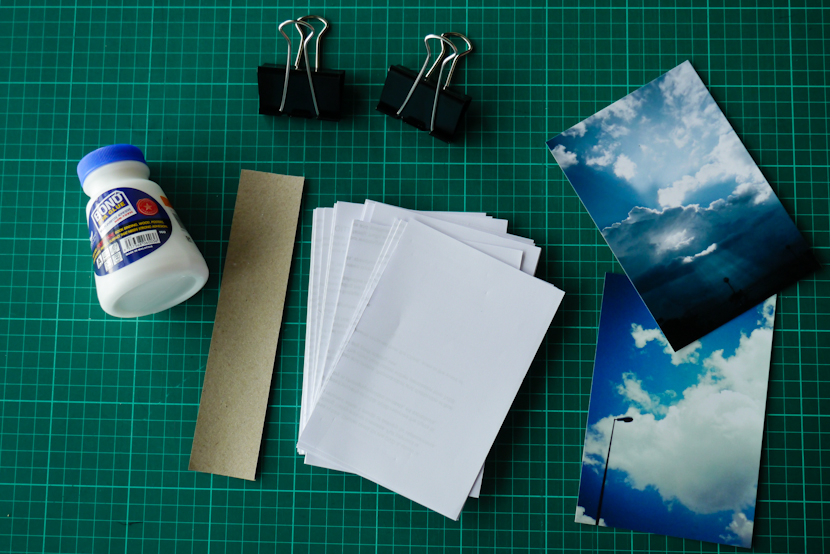
Here’s what you need:
1. PVA Glue
2. Rough paper (make sure they are all the same size)
3. Two of your favourite / old photos
4. Paper holders
5. A small sheet of paper of any colour (for the spine)
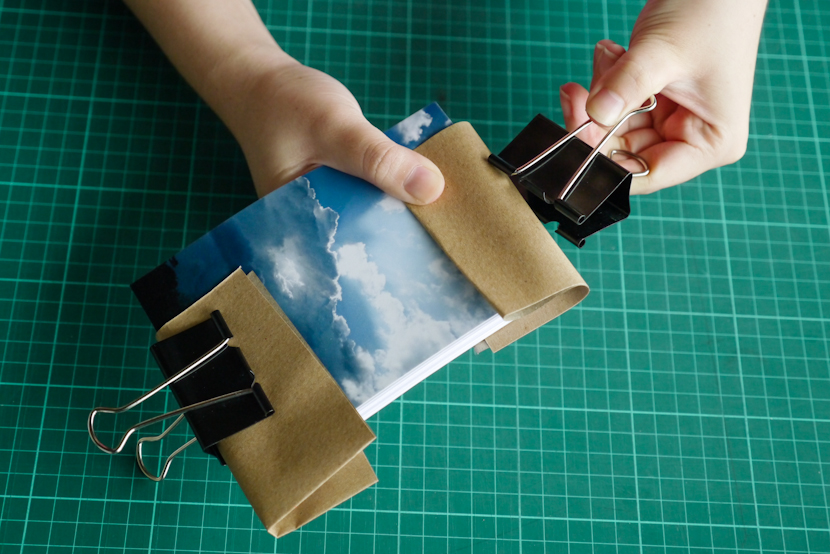
Step 1: Put all your paper together and place your photos as covers at the front and back. Align the paper against a flat surface.
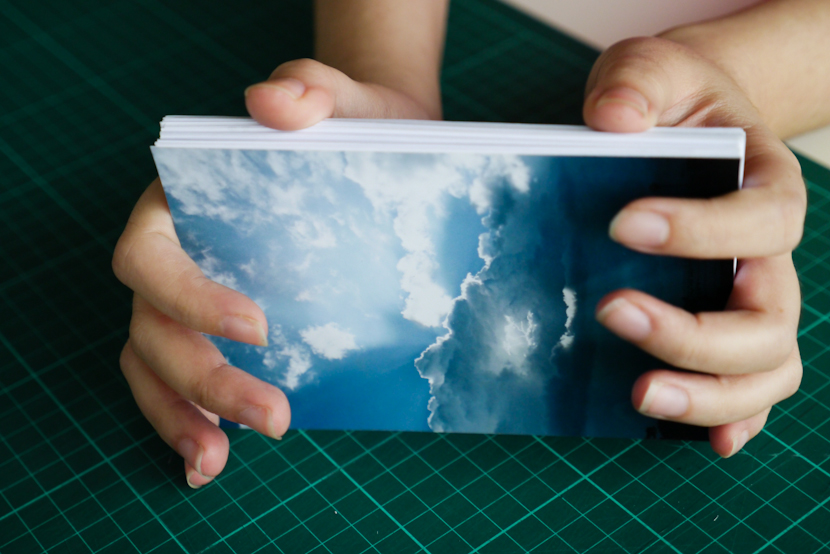
Step 2: Once you have aligned the paper, use the paper holders to hold the sheets of paper in place for the moment. In this case, you can see that we used some brown paper to protect the photo so that the clip doesn’t leave a mark on the photo.
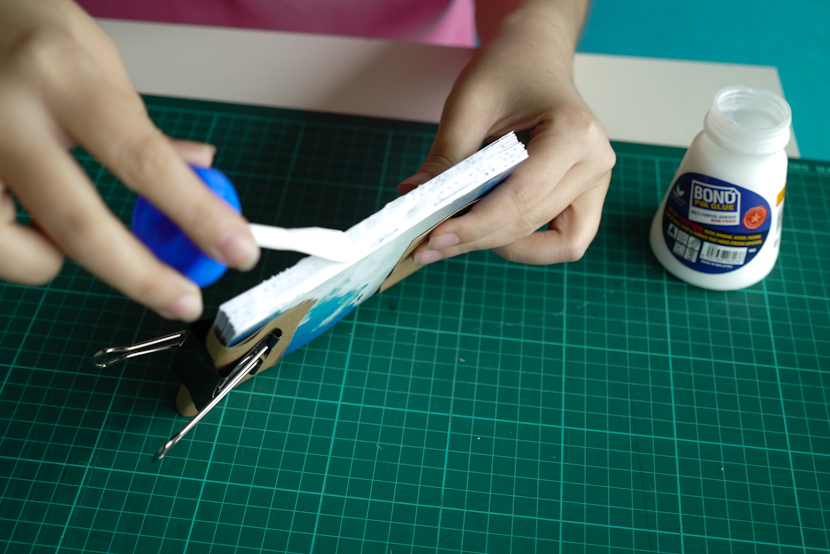
Step 3: Apply PVA glue on the side that you want as the spine of the notebook. Apply at least 2 layers of glue. Be sure to leave one layer to dry first before applying another. After applying the layers of glue, use heavy items such as a heavy book to rest on the notebook. This is to ensure that the pages stick together. Let it sit for about an hour.
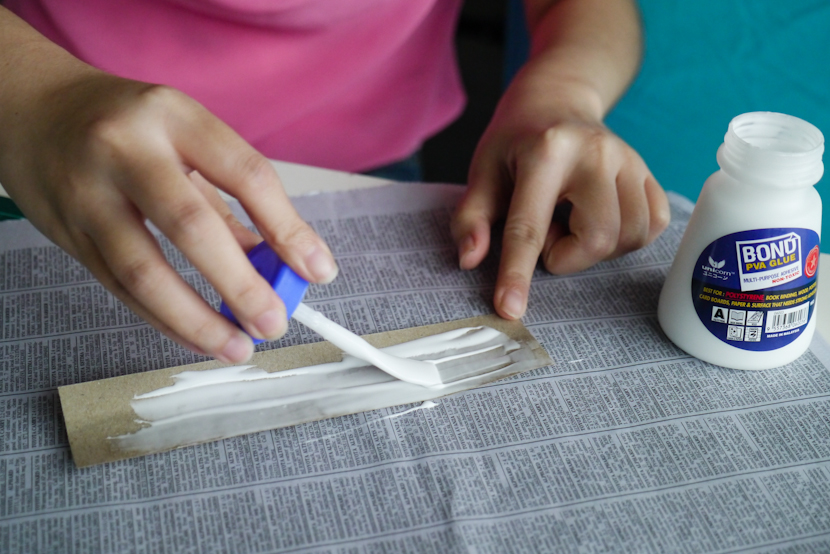
Step 4: Your pages are now glued together. Apply some glue on to the strip of paper and paste it to the spine of your notebook.
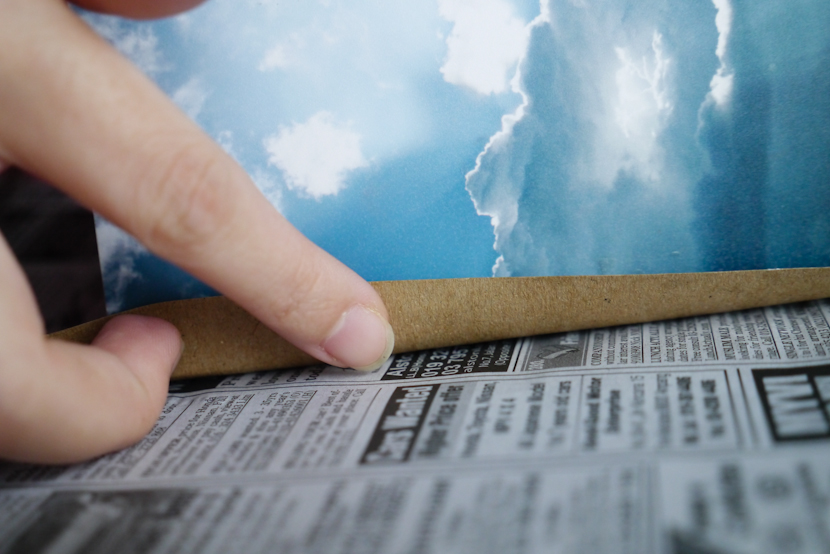
Done! You can now proudly use your environment-friendly notebook and show off your beautiful pictures at the same time!
Enjoy! :)
[Editor’s note: This article was originally written by Diane, a previous team member at Stories.my. She loves art and craft and often shared her easy craft ideas with us. This article has been updated on 24 July 2020]
you’re so cute Diane! keep it up! clap clap clap and hip hip hooray! hehe
@JohanSopiee Ahahaha. So shy. *blush
Nice……
very good idea