fbpx Skip to main content
Tag

Portraits

How to Arrange People in a Family Photo (Without Losing Your Sanity)

With Chinese New Year and Hari Raya coming up, many families start thinking about taking a proper family photo. What often sounds simple can quickly become stressful. Who stands where? How do we fit everyone in? Why does it look awkward even though everyone is smiling?

The truth is, most family photos don’t fall apart because of the camera or lighting. They fall apart because of arrangement. When people are placed with intention, the photo instantly feels more balanced, connected, and meaningful. It took me years to learn some of these lessons the hard way – by evaluating my photos and finally understanding what worked and what didn’t. Thankfully, 17 years later, I have refined my thought process during every photo shoot. So here are some practical tips to help you elevate your DIY family photos, whether you’re working with a small group or a big extended family.

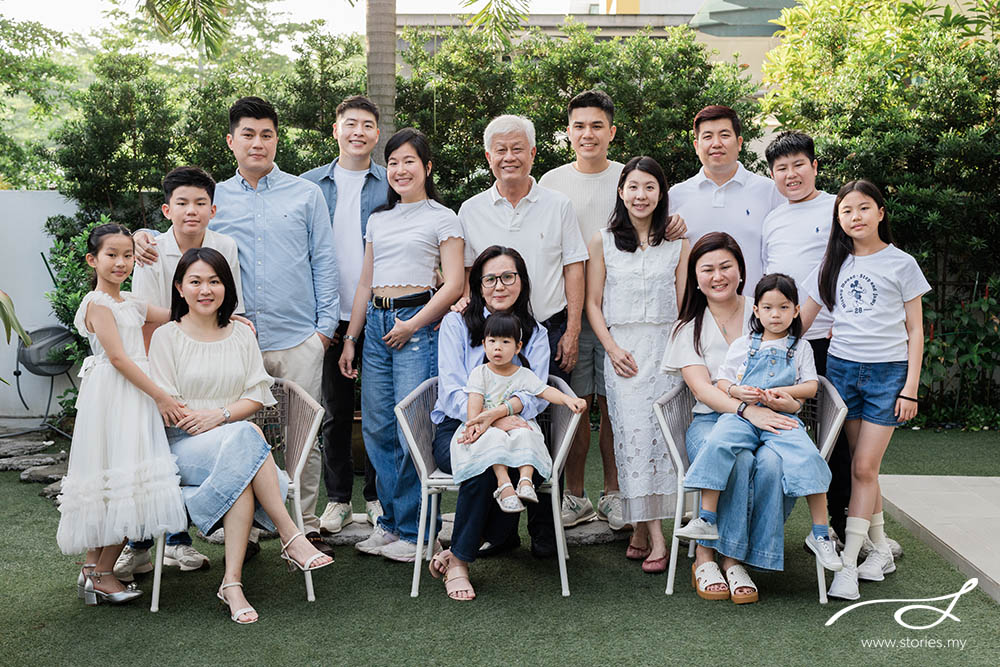
1. Start with the number of people and the space you have

Before thinking about poses, first be clear about how many people will be in the photo. A group of 10 people needs to be arranged very differently from a group of 20. The size of the group determines how much space you need and how creative you can be with positioning.

More space makes things easier. It allows you to spread people out, create layers, and adjust without rushing. If the space feels tight, you will need to be more intentional about who goes where. This is exactly how I plan my family sessions, especially for larger groups.

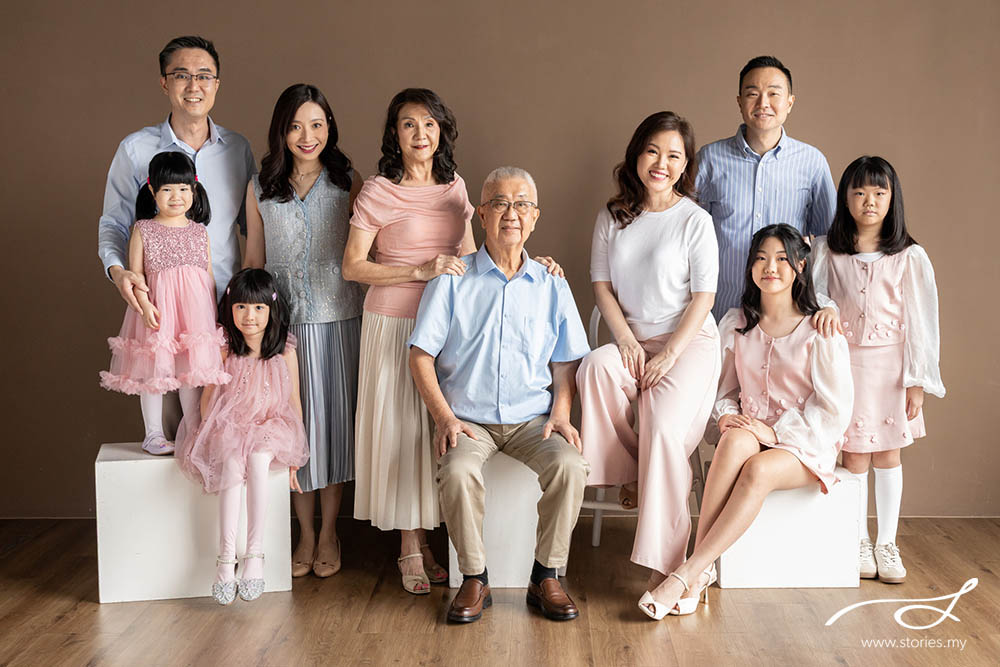
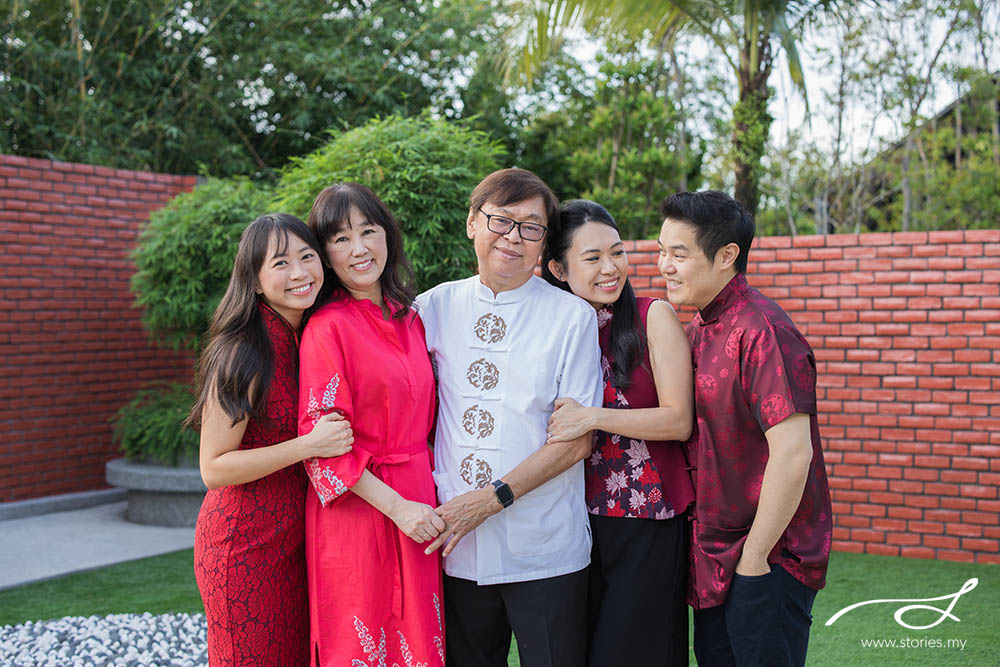
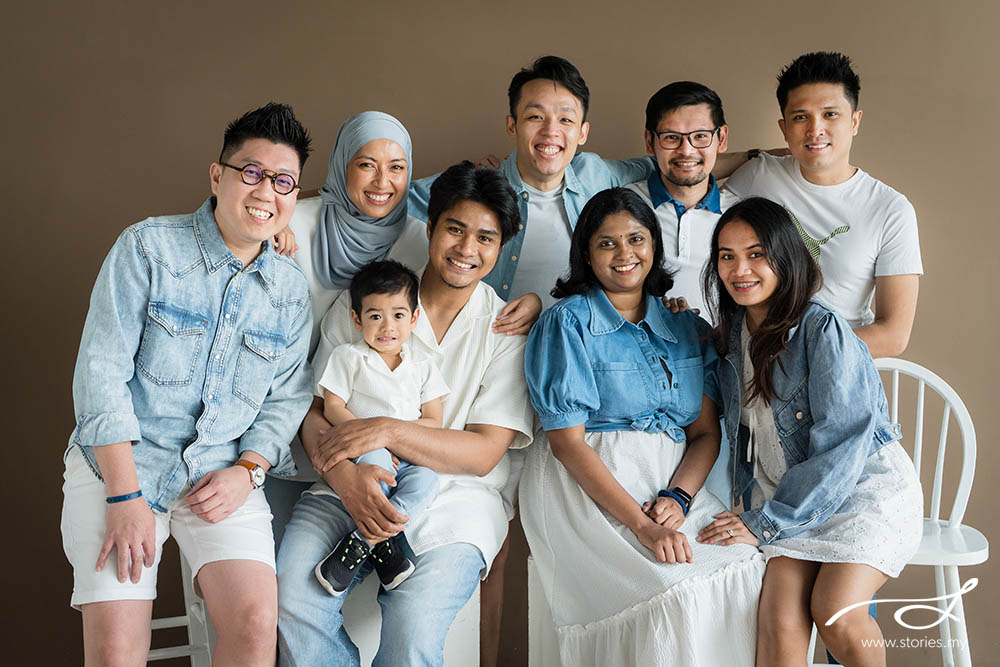
2. Arrange people by relationships, not by height

One of the most important things I look at when photographing large families is the family structure. For extended families, I often ask for a simple family tree or a list of names and relationships. This helps me understand how everyone is connected.

For example:
Grandfather and grandmother
Their eldest son and his wife with two children (with age)
Their second son and his wife with two younger children (with age)

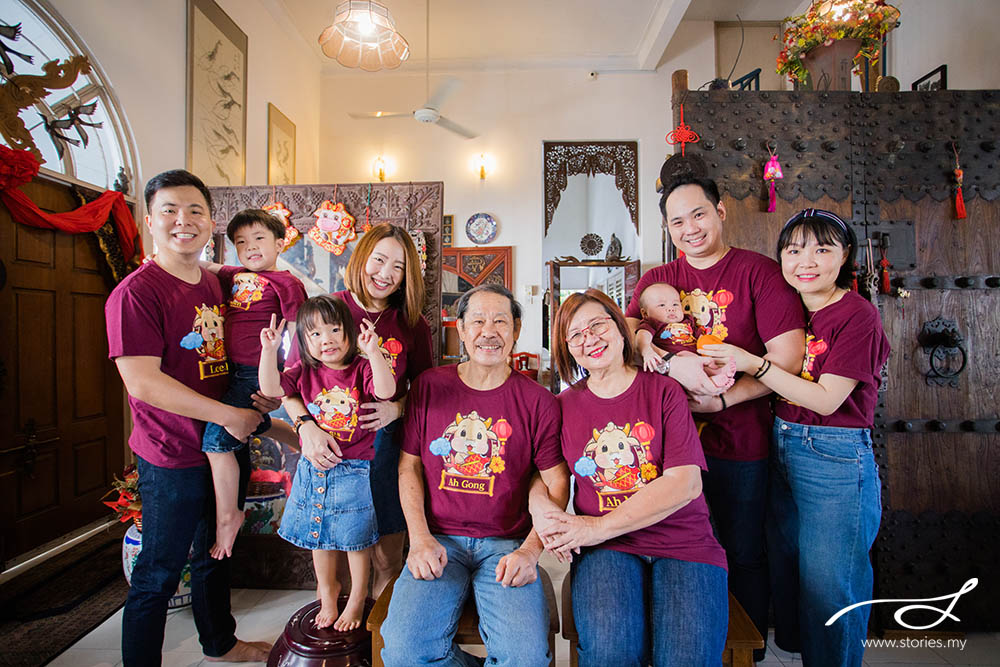
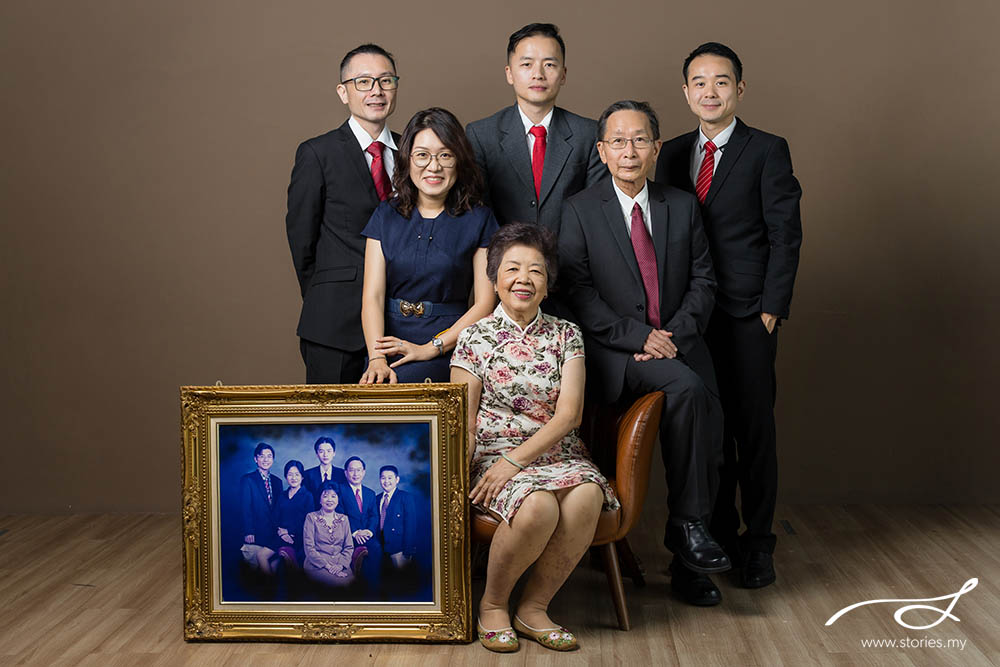
Once relationships are clear, the arrangement becomes much easier. Knowing the age of the children helps me a lot too because positioning a 1-year-old would look different from positioning a 16-year-old. I usually place grandparents in the centre as the heart of the family. Each nuclear family stays together, with children close to their own parents instead of being placed randomly in the group.

This approach does two things. Visually, the photo feels organised and intentional. Emotionally, people feel more comfortable standing with those they are closest to, and that comfort shows in the photo.

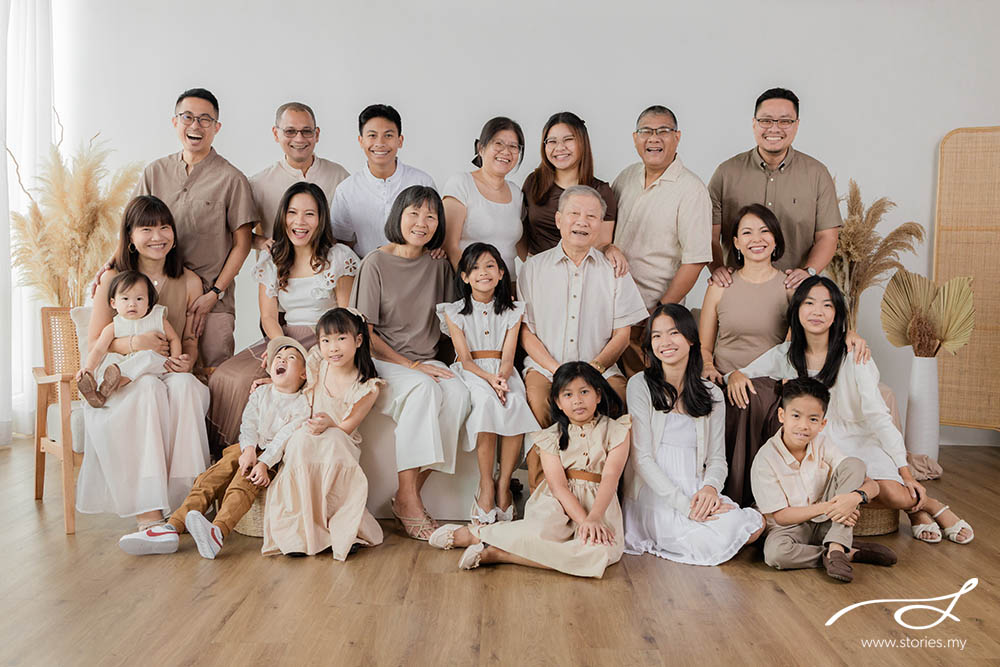
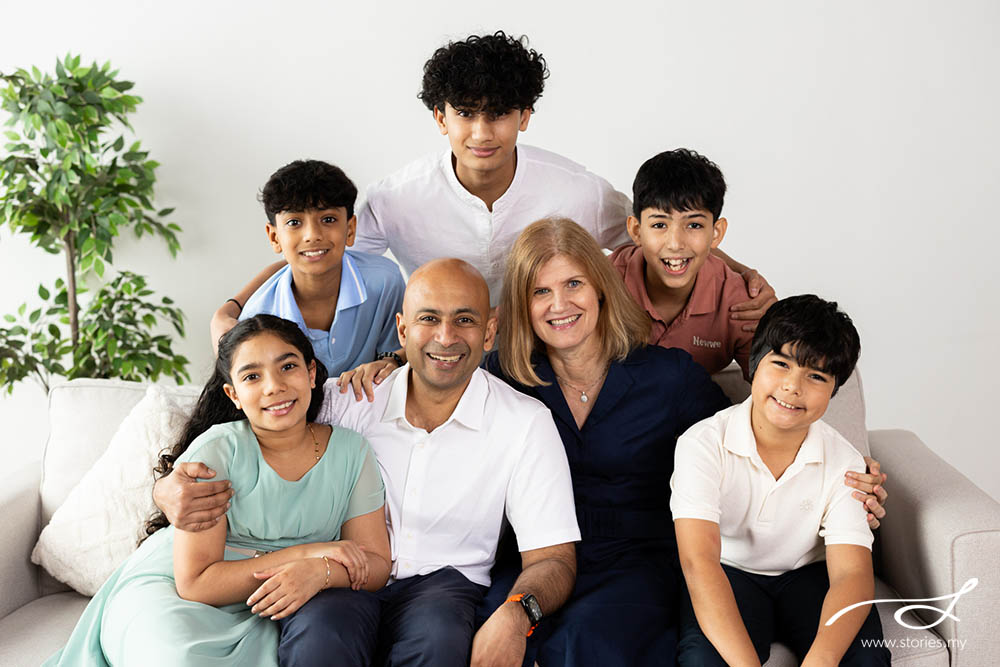
3. Create layers to add depth and interest

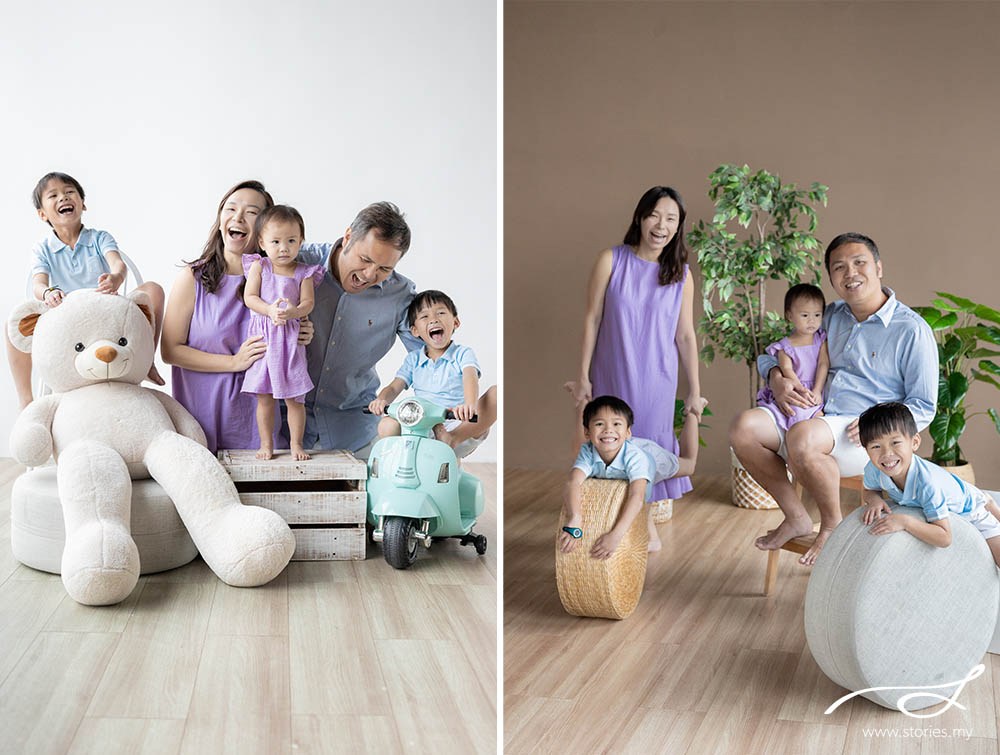
Flat rows tend to look stiff and uninspiring, especially for large groups. Instead, try to create layers by mixing sitting and standing positions.

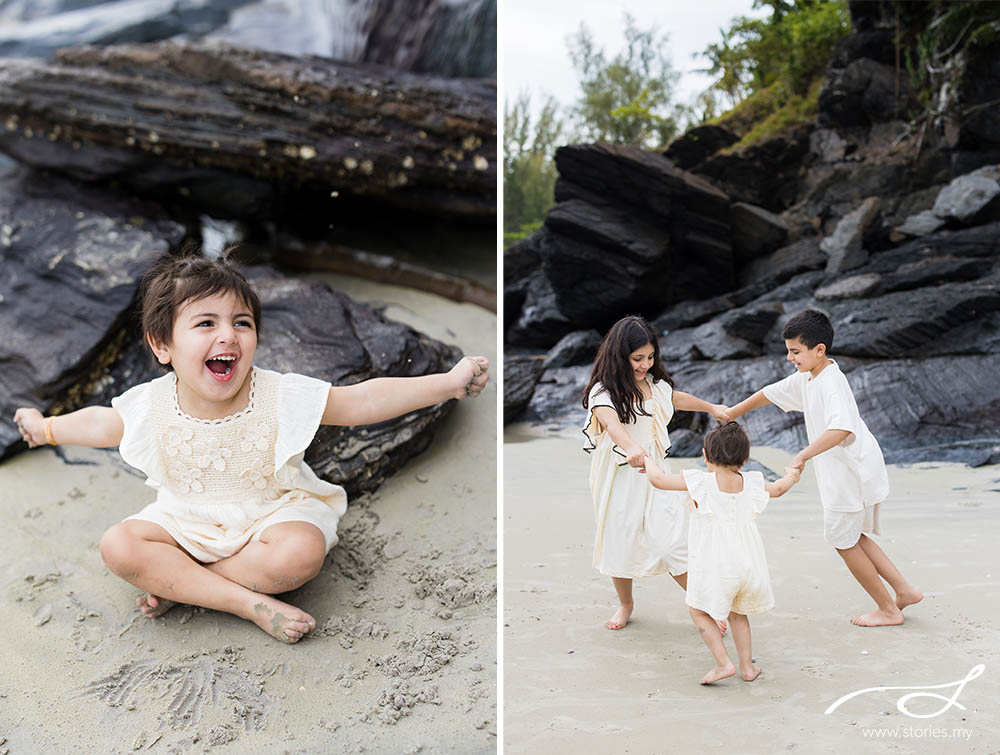
Some people can sit on chairs or the floor, while others stand behind them. If you are outdoors, use stairs, low walls, tree roots, or rocks. Indoors, stools, boxes, or even the edge of a sofa can help create different heights.

For groups of 15 people or more, you may need two to three layers. Don’t be afraid to let children sit on the floor or stand on a higher surface with support. Layering helps everyone be seen clearly and makes the photo feel more dynamic and natural.

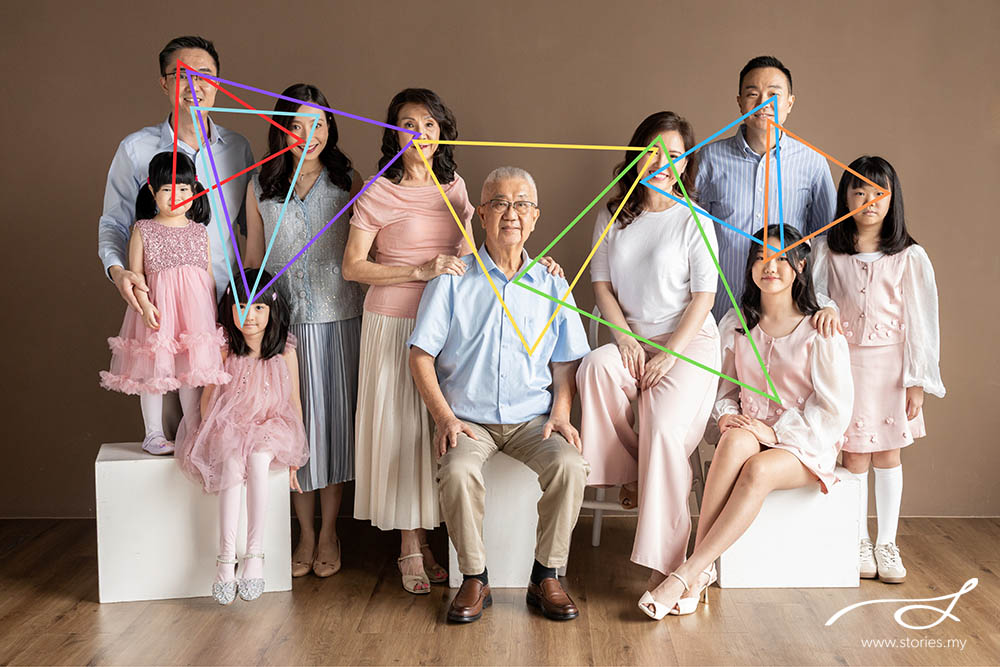
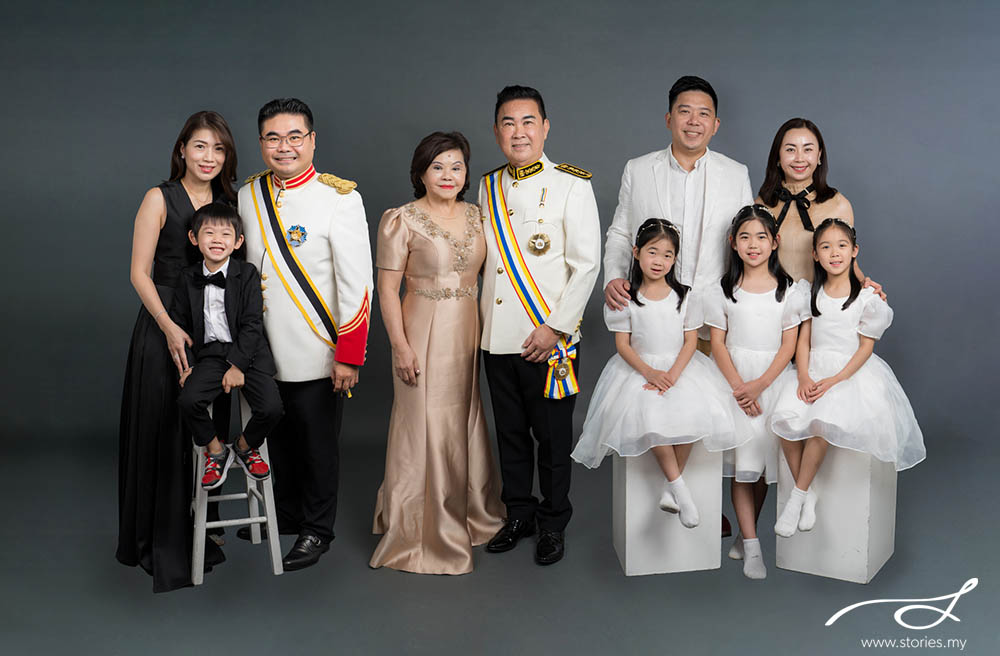
4. Look for triangles and varied heights

Once people are layered, pay attention to height differences. A tall person doesn’t always need to stand, and a shorter person doesn’t always need to sit. The goal is to create gentle triangular shapes throughout the photo.

These triangles guide the eye and make the composition more interesting. Think of it as creating small peaks and slopes rather than straight lines. Move people slightly, adjust where they sit or stand, and see how the overall shape changes. This is something photographers constantly fine-tune during a session, so take your time and enjoy experimenting.

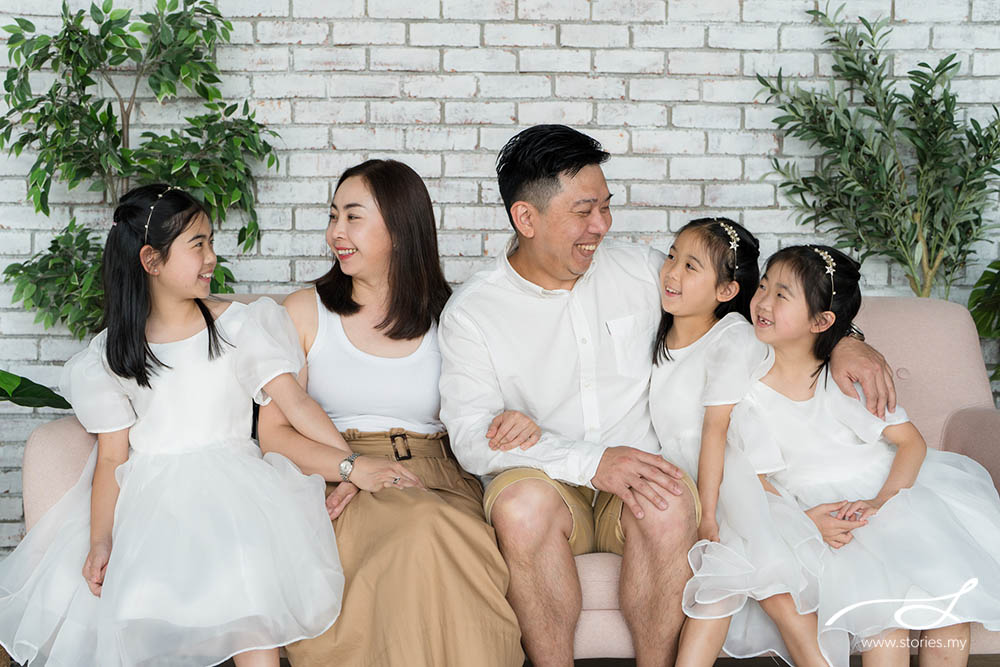
5. Using a sofa without making it look boring

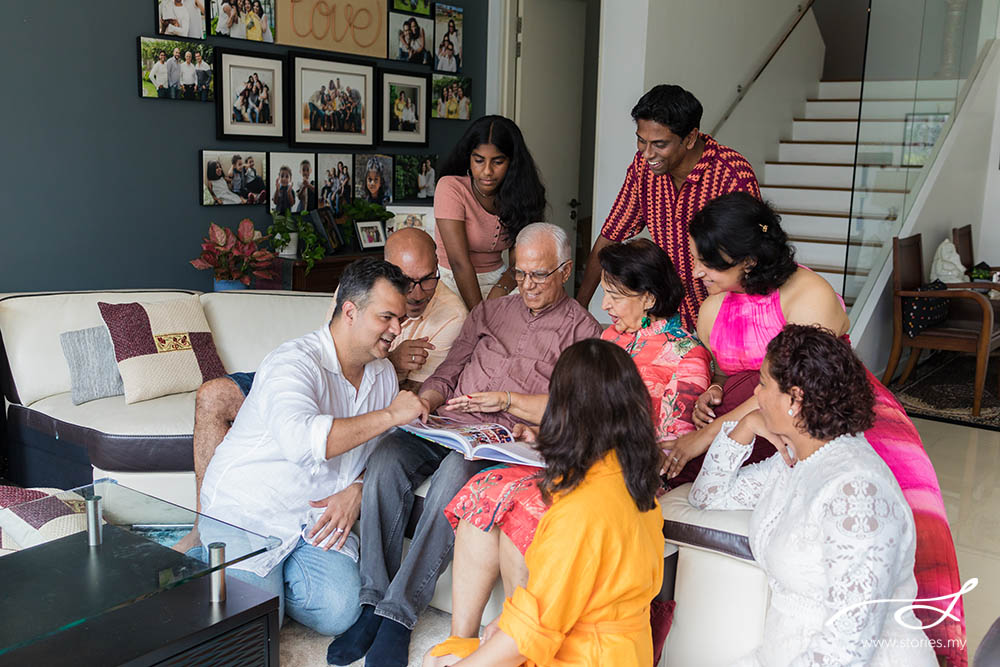
Sofas are common in home photos, but they can easily look dull if everyone sits in a straight line. Try mixing things up by asking someone to sit on the armrest with their legs turned sideways, or placing a few people on the floor in front of the sofa.

If there are people standing behind the sofa, bring them as close as possible to those seated so the group feels connected. For those sitting, ask them to sit slightly forward rather than leaning back fully. This helps with posture and keeps faces closer together.

Every sofa is different. Some are deep or bulky, so not every pose will work. Adjust accordingly and see what looks best in your space.

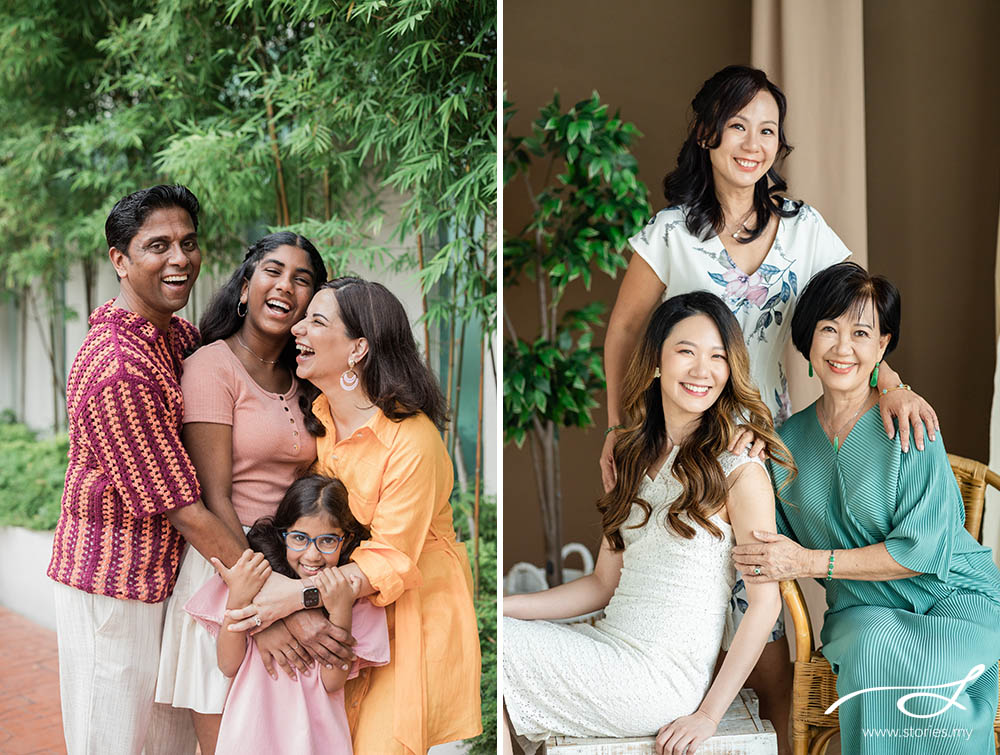
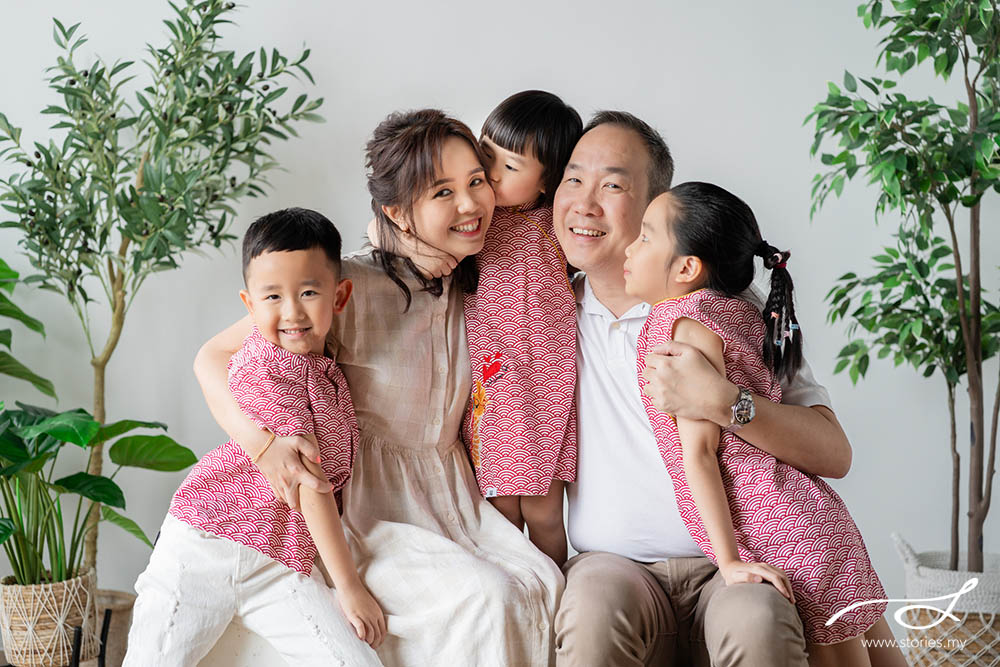
6. Keep faces close and take a test shot

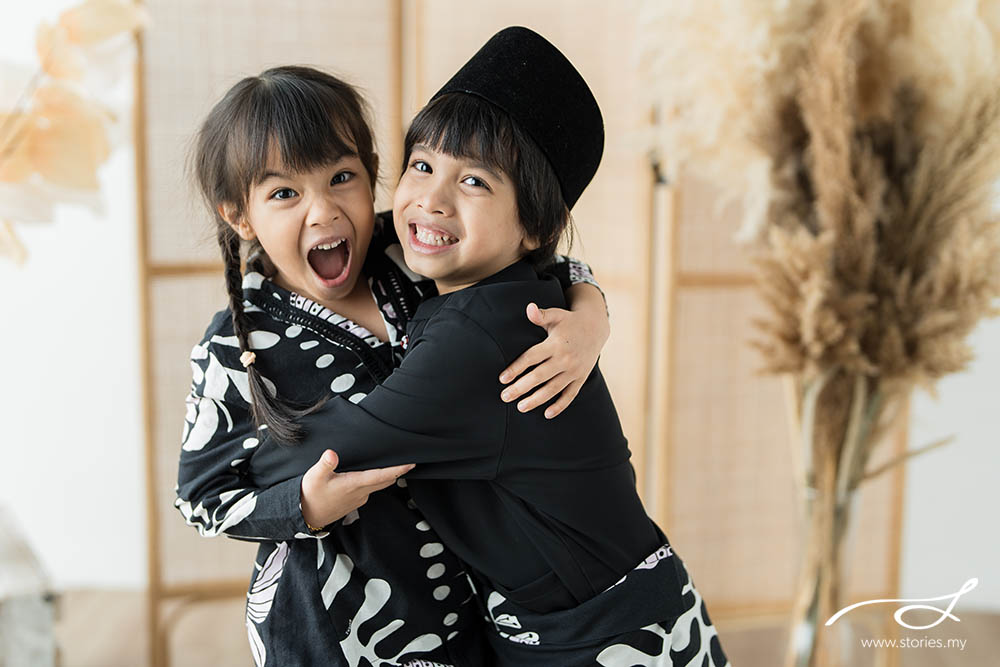
A simple tip that makes a big difference is encouraging people to lean in slightly towards one another. Small movements like shoulders touching or heads gently angled closer can instantly make the photo feel warmer and more connected.

Always take a quick test shot and review it. Look out for gaps, hidden faces, or anyone feeling too far away from the group. Make small adjustments instead of starting over. This is exactly how I work during professional sessions.

A final thought

Family group photos are not easy, especially when there are many personalities involved and different dynamics to the relationships. Don’t aim for perfection. Aim for connection. When people feel comfortable, seen, and close to one another, the photo will naturally feel right.

And if arranging everyone still feels overwhelming, that’s completely normal. This is where having a professional family photographer helps. My role is not just to take photos but to guide families gently through the process so they can relax and enjoy the moment together.

What To Wear For Your Family Photoshoot – A Step by Step Guide

“What Should My Family Wear?” We’re asked this so frequently that we’ve written several articles about it (Click on the thumbnails to read more!):

However, if you’re still having trouble after reading the articles above, here is a simple step-by-step guideline that will hopefully help you get your family photo ready.

Step 1: Decide if you’re going formal or casual

To ensure that everyone in the family is on the same page, decide the level of formality of your photoshoot. Are you planning a casual shoot or would you like everyone to be more dressed up? Dressing up doesn’t have to mean wearing something extremely formal; it can just mean going a little further than normal, like wearing a nice dress for the ladies or a fitted shirt instead of a t-shirt for men. 

When deciding the style, do consider the location of your shoot as well. For example, a grand hotel lobby could be an ideal backdrop for a formal photoshoot, but if you’re doing your shoot at home or in a park, a more relaxed style might be preferable. 

If you’re planning to shoot in our studio, we will be able to set up according to either style.

Step 2: Decide your base colour

In your next step, choose two to three colours for everyone to select from and request the family to stick to the same range of colours. To achieve this, decide on the primary colour you want for your photo session. This may be based on the outfit you wish to wear or just the colour that the majority of your family members may likely already have.

Step 3: Coordinate colours

After selecting the main colour, use the colour wheel to select complementary colours. Complementary colours are hues that are directly opposite each other on the colour wheel, such as yellow and purple. You can also select colours next to each other such as blue and purple as adjacent colours on the wheel also blend well together.

Should the above prove too challenging to coordinate, you can opt for colour shading, which involves selecting lighter or darker shades of your chosen colour. Therefore, if your primary colour is blue, your family members can then choose a variety of blue outfits that may range from navy to pastel.

If all else fails, neutrals such as blue, cream, khaki, or white are popular choices and you can’t go wrong with these.

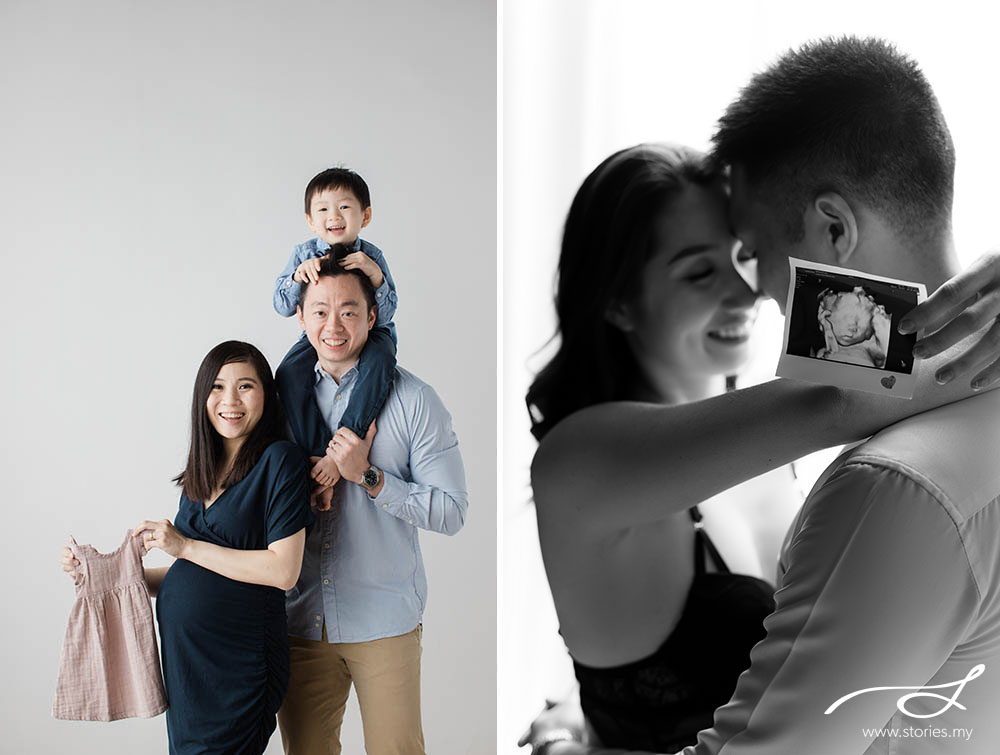
Step 4: Ensure there is variety

Having a variety of outfits such as blouses, shirts, jeans, skirts and long dresses will create more dimension to your photos. Encourage your family members to wear clothing that expresses their individuality and sense of style. Use different textiles, such knits or lace, to provide texture. You can also incorporate texture by layering – such as throwing on a shirt over a plain tee, a cardigan over a dress or a shawl over your blouse. 

If you’re not sure about your selections, feel free to bring an extra outfit to switch up on the day of the shoot.

Some final tips!

  • Avoid clothing with large graphics, brand logos or too many patterns.
  • Ensure your clothes fit properly. Do try on your outfit before the shoot to check that it fits well and that you can not only move around comfortably but sit comfortably as well. 
  • Steer clear of clingy fabrics that may highlight unflattering areas.
  • Make sure to iron out the wrinkles in your outfit prior to the shoot. 
  • Don’t forget to think about your footwear. 
  • Comfort is a must! 

If you need more help in this area, feel free to drop us a message and we can discuss more!

Embracing Malaysian Culture in Family Photography

Since it’s Malaysia Day, I was thinking about how we can incorporate Malaysian culture into our family photo sessions. My heritage as a child born into a Peranakan family in Melaka is colourful, but personally, I have not embraced much of the culture in my daily life (except to wear the kebaya and eat pong teh occasionally). My children certainly do not identify as being Peranakan.

The thing is, growing up, seeing my mom cook all her Peranakan dishes using the batu lesung, listening to my parents speak the Peranakan lingo, and being asked to pin the kerongsang on her kebaya didn’t feel like heritage. It felt like a normal, everyday part of life. I didn’t know what I had until I lost it. Of course, I never had the opportunity to document most of these everyday memories, as cameras were a luxurious item we didn’t own back then. This photo of my parents taken in front of our home in Melaka is a precious memory for me. It is not fancy, but it is meaningful.

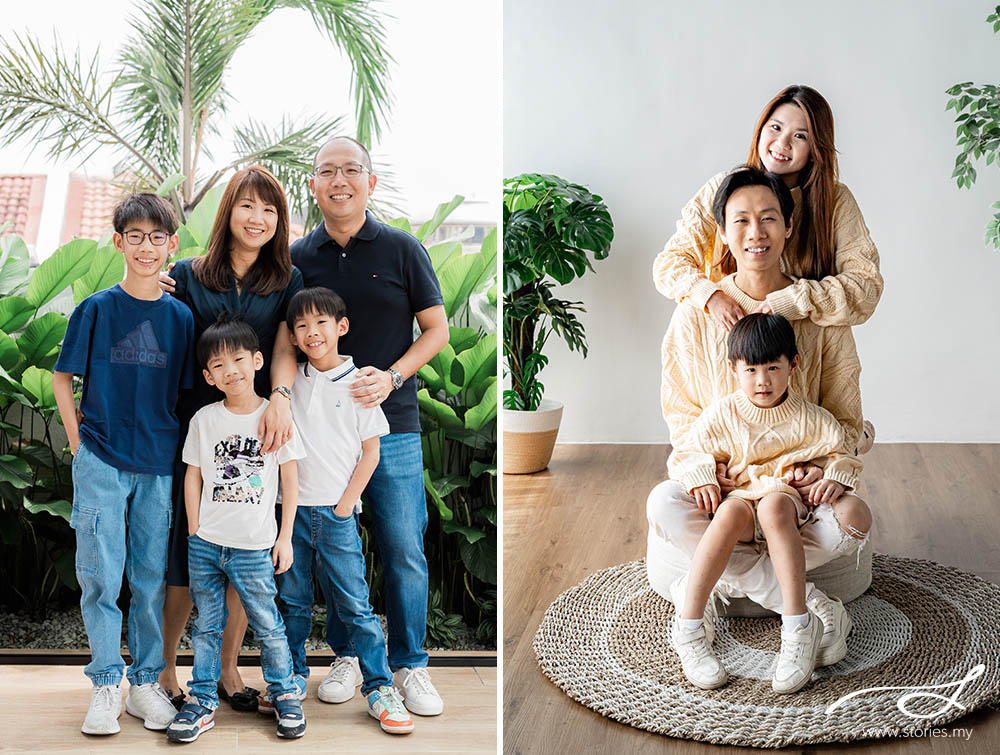
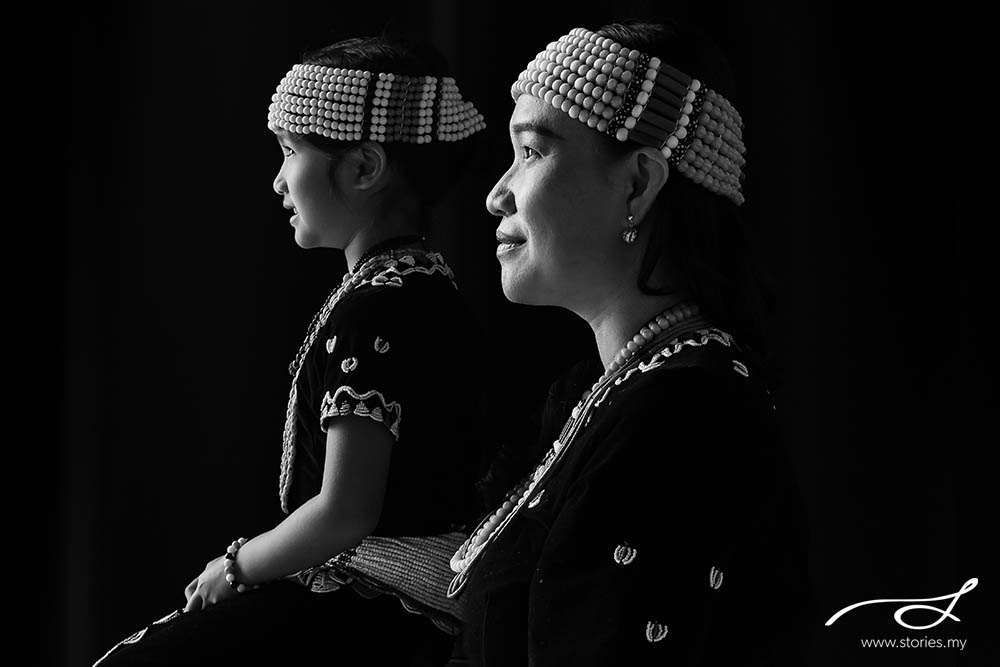
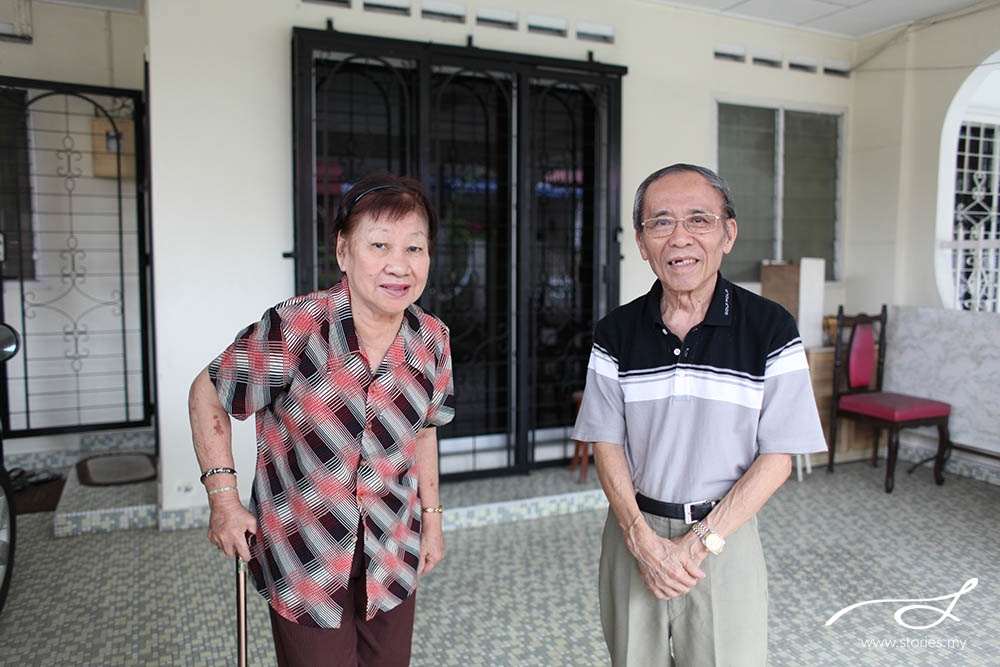
We value the things we once took for granted as we age. I wish my parents were still alive so I could take a beautiful portrait of them in their element. If I could do it again, I would photograph my mom in her kebaya holding a bakul sia filled with her homemade pineapple tarts, which she used to make every Chinese New Year. I would create a mini-video documentary of everyday life snippets, filled with stories from yesteryear.
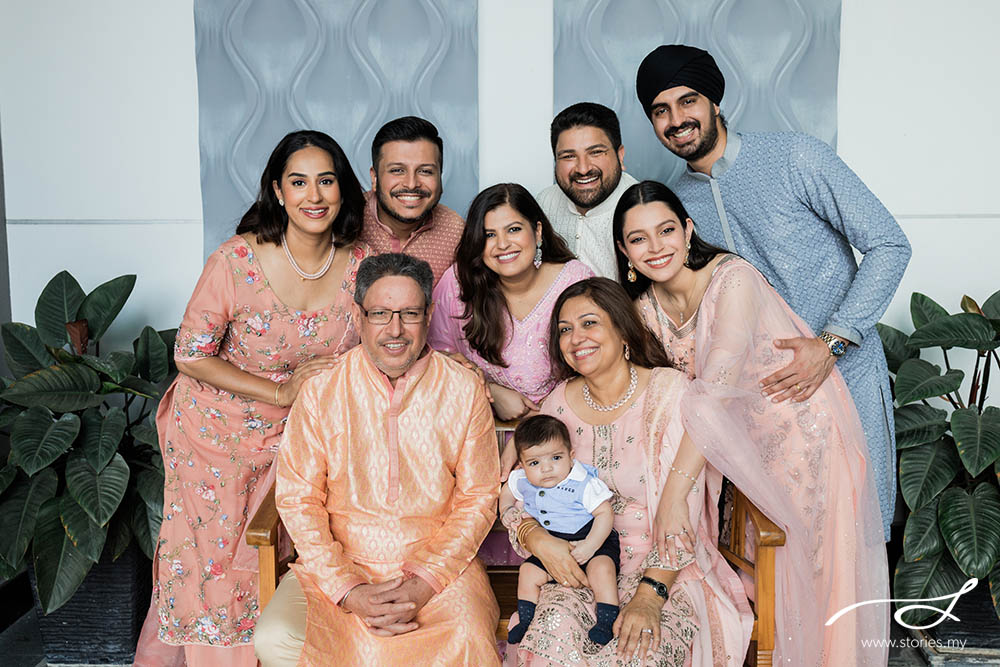
As a family photographer, I have photographed so many different cultures in Malaysia. Family photo shoots are more than just a moment in time—they are a celebration of history, heritage, and identity. Interestingly, as more and more inter-racial marriages take place, our cultural identity becomes even more diverse and fascinating for the next generation!

So here are some ideas on how you can infuse Malaysian family culture into your next photo shoot and create something that resonates deeply with your family’s story.

1. Cultural Dressing

Clothing is one of the easiest and most visually striking ways to incorporate culture into family photos. In Malaysia, we are blessed with beautiful cultural garments that can be beautifully showcased in a photo shoot. Whether you are wearing the baju kurung, cheongsam, saree, or any East Malaysian traditional costume, these outfits can look especially striking because most of them are rather colorful! These outfits can carry deep meaning, reflecting your family’s roots and values.

2. Locations

Malaysia’s diverse landscapes are another wonderful way to integrate cultural elements into your photos. Choosing locations that are meaningful to your family’s background or that hold cultural significance can create a profound visual story. For some of you, your family home could be a heritage site or museum on its own! You could take photos in your hometown, whether it is the city or the kampung. When making a choice, think about the significance of the locations to you. It could even be a simple location like the family swing, where you used to enjoy moments as sisters growing up.

3. Props

Props are a fantastic way to add personal and cultural touches to your family photos. Every Chinese New Year, my family would dress up for a family photo. It’s a great time to add in props like Mandarin oranges, lanterns, bakul sias, baskets, and angpaos! Other ideas could be incorporating old family photos into the current image. It’s a great way to remember how far you have come and to see how everyone has aged gracefully.

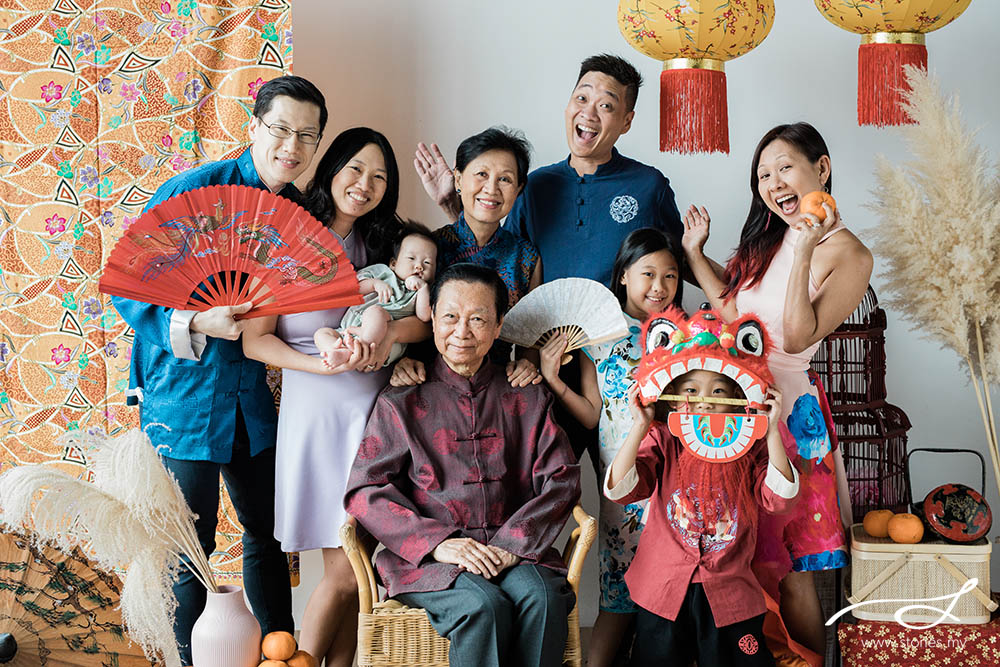
4. Extending the Shoot: Coffee Table Books and Family Videos

After your photo shoot, you can enhance the experience by crafting keepsakes that narrate your family’s story more comprehensively. You could do it with a beautifully designed coffee table book that allows you to showcase the photos in a way that tells your family’s story. You can organize the book chronologically, starting with older family members and progressing to the younger generations, or you can group photos by theme—such as family traditions, celebrations, or important milestones. This family went the extra mile in creating their coffee table book—it was a huge family project that incorporated their family tree, written stories, and scanned letters from great-grandparents!

A video is another way to capture the essence of your family’s cultural heritage. We’ve created short family films that combine video clips from the shoot with candid moments, and sometimes even interviews with family members. Imagine capturing your grandparents sharing stories about their youth or your children talking about what their heritage means to them. This turns your family photos into a living, breathing memory that you can pass down through generations.

Documenting heritage through photos and videos can be a wonderful way of passing a piece of life to the next generation. This is why we do what we do at Stories—our vision is to touch lives by building visual stories for the present and future generations. As a photographer, it’s a joy and honour to capture these moments, knowing they’ll be cherished for years to come.

Prop ideas for your maternity photo shoot

A great way of celebrating that baby bump growing inside of you is through a maternity photo session. The best time to do this is between your 30-36 week of pregnancy. You should be nice and shapely then! If you are planning for a maternity session, you should also give some thought to the props that you could bring along to make the photo shoot more fun. Props can add depth, meaning, and a touch of personality to your photos, making each session unique. Here are some creative prop ideas that can elevate your maternity photo shoots.

1. Ultrasound Photos

The ultrasound is your baby’s very first photo! This tiny glimpse into the life growing inside of you adds a personal and emotional touch to the images. It’s a great prop to also reuse in your newborn baby portrait session. It never gets old!

2. Baby Clothes

Including a favorite baby outfit or onesie in the photo shoot can add a cute and personal element. This prop is not only adorable but also creates a sense of anticipation of the future.

3. Baby Shoes

Tiny baby shoes are an adorable addition to any maternity photo shoot. You can place the shoes on the your belly, in your hands, or next to other props. It’s even more fun when you have matching shoes too!

4. Personalized Signs

Personalized signs with the baby’s name, a due date, or a meaningful quote can make a maternity photo shoot feel even more special. These signs can be simple chalkboards, wooden plaques, or even banners. Have an older sibling hold the signboard, and that can be really meaningful as well.

5. Floral Crowns and Bouquets

Flowers can add a soft touch to your session, creating a serene environment. You can opt for fresh flowers that match the season, or choose faux flowers that align with the colour scheme of the session. If you are planning on a photo shoot in a bath tub, you can also add petals into the water.

6. Books

Books are a wonderful prop that can represent the story you will share with your child. There are many personalised books options nowadays, and you can include your baby’s name in the book as well.

7. Sentimental items

You could bring along items that hold a special meaning for you. For example, this could be a piece of jewelery, your wedding bands, a family heirloom, or even your own childhood toy.

We hope this article gives you some ideas on how you can personalise your maternity photo session with props. It brings us great joy to celebrate the anticipation of a newborn. View our maternity portfolio here or contact us to schedule your maternity session!

10 Tips to Prepare Your Kids for a Photo Shoot

Preparing your kids mentally beforehand for a photo shoot may be challenging, but it is an important step. Ensuring they are comfortable, relaxed, and happy can make a significant difference in the outcome of the photos. Here are some tips to help you prepare your kids mentally prior to your photo session.

Communicate Clearly and Excitedly

Talk to your children about the photo shoot in a positive and exciting manner. Explain what will happen, why it’s happening, and how fun it will be. Use simple, age-appropriate language and focus on the enjoyable aspects, like dressing up or playing with props. By framing the photoshoot as a fun adventure, you can build their excitement and reduce any anxiety they might feel.

Involve Them in the Planning

Give your kids a sense of control by involving them in the planning process. Allow them to choose their outfits, suggest poses, or pick their favourite toys to bring along. This involvement can make them feel more invested and eager to participate. When children feel they have a say, they are more likely to be cooperative and excited for the shoot.

Practice at Home

Practice makes perfect. Conduct a few mini-photo shoots at home to help your kids get used to being in front of the camera. Let them pose, make silly faces, and see the pictures afterward. This practice can help them to get familiar with the process and make the actual photoshoot feel more familiar and less intimidating.

Keep it Relaxed and Fun

On the day of the photoshoot, maintain a relaxed and fun atmosphere. Avoid putting too much pressure on your kids to perform or behave in a certain way. Encourage them to be themselves and enjoy the experience. Sometimes the best photos are captured when children are genuinely happy, rather than forced into unnatural poses. Incorporate games and activities into the photoshoot to keep your kids engaged, with simple games like Simon Says or peek-a-boo. This strategy can help capture natural smiles and laughter.

Bring Comfort Items

Bring along some of your children’s favourite comfort items, like a beloved stuffed animal or blanket. These items can provide a sense of security and familiarity, helping them feel more at ease. Plus, these cherished items can make for some heartwarming, candid shots.

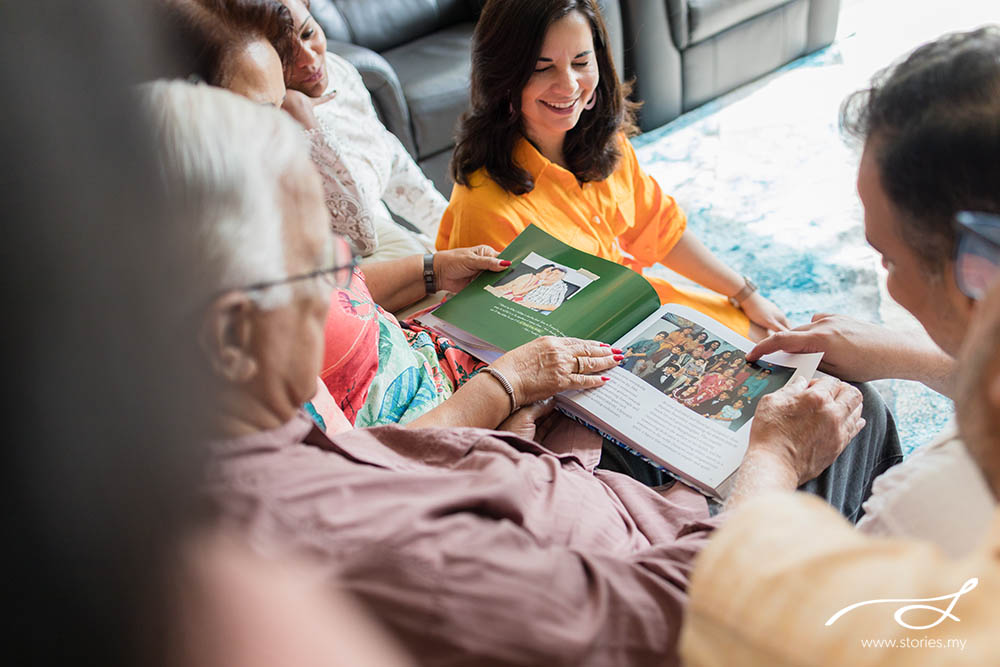
Plan Around Their Schedule

Schedule the photoshoot at a time when your kids are usually in a good mood. Avoid times when they are likely to be tired, hungry, or cranky, such as right before nap time or meals. Well-rested and well-fed children are more likely to be cooperative and happy during the shoot.

Prepare for Breaks

Be prepared to take breaks during the photo shoot. Kids have limited attention spans, and expecting them to stay focused for an extended period of time can be unrealistic. Allowing short breaks for snacks, drinks, or simply to run around can help them recharge and return to the shoot with renewed energy. That being said, don’t forget to pack their favourite snacks!

Don’t Resort to Devices

It is easy to resort to taking out your phone or tablet as a bribe when your kids start to misbehave or start to cry during the photoshoot. Although this may help stop them from misbehaving, it is only a quick fix and not a long-term solution. In fact, once the devices are given to the kids they would most likely kick up a bigger fuss if it has to be taken away later. Remember, it is impossible for a photographer to capture a good smiling photo of your child if he or she is looking down at a device, and it is not a solution that can easily be fixed later in Photoshop.

Use Positive Reinforcement

Instead of a device, use positive reinforcement to encourage good behaviour and cooperation. Praise your kids frequently, offer small rewards, or promise a fun activity after the photoshoot. Positive reinforcement can motivate children to participate enthusiastically and make the experience more enjoyable for everyone involved.

Choose a Child-Friendly Photographer

When choosing a photographer for your family shoot, do some research and select a photographer who has experience working with children. Check out the photographer’s family portrait portfolio and their online reviews beforehand. A skilled, child-friendly photographer will know how to engage with your kids, make them feel comfortable, and capture their personalities. They will also be patient and understanding of the challenges that come with photographing children.

By taking the time to incorporate these simple tips, you can help ensure that your little ones will be prepared for a positive photography experience. Just remember to set realistic expectations for yourself and your children. Understand that not every moment will be perfect, and that’s part of the charm. Embrace the imperfections and remember that the goal is to capture genuine moments and emotions, and leave the rest up to your skilled photographer. 

At Stories we have been capturing family portraits and beautiful moments for over 16 years. Do reach out if you would like to know more about how we can help you form the best photo memories with your loved ones.