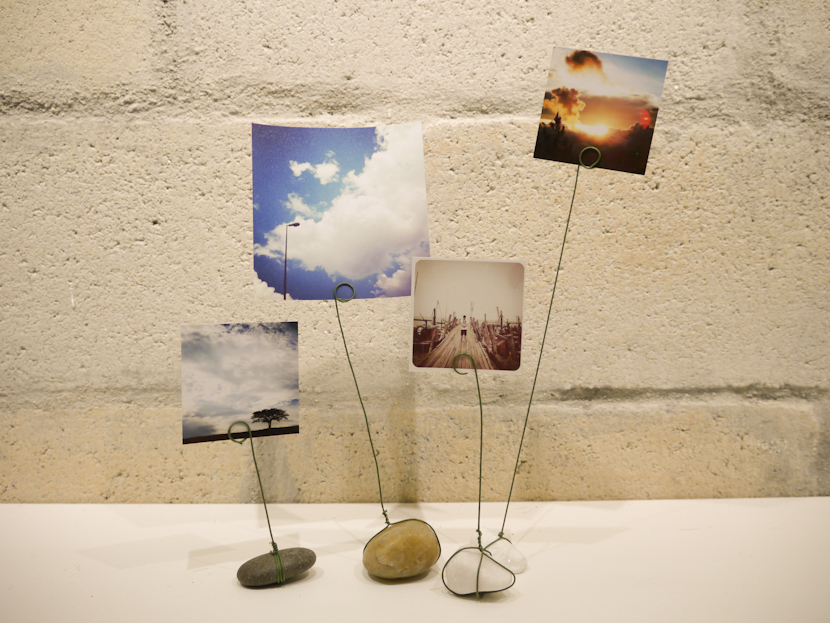
This literally rocks! ;)

This literally rocks! ;)
Great photos are meant to be shared. Other than uploading them on Facebook and blogs, they should be shared in its’ most traditional form- in print. For me, I find that I am more likely to turn the pages of a ready physical photo album than to access the soft copies from my computer.
In light of that, I would like to show you a quick way to make a simple photo album. They are great as little gifts for your loved ones or simply for keeps. For this simple tutorial, I will be making a pocket-sized photo album, featuring some of my favourite Instagram photos.
Oh, by the way, did you know that Instagram is now available on Android phones as well? :)
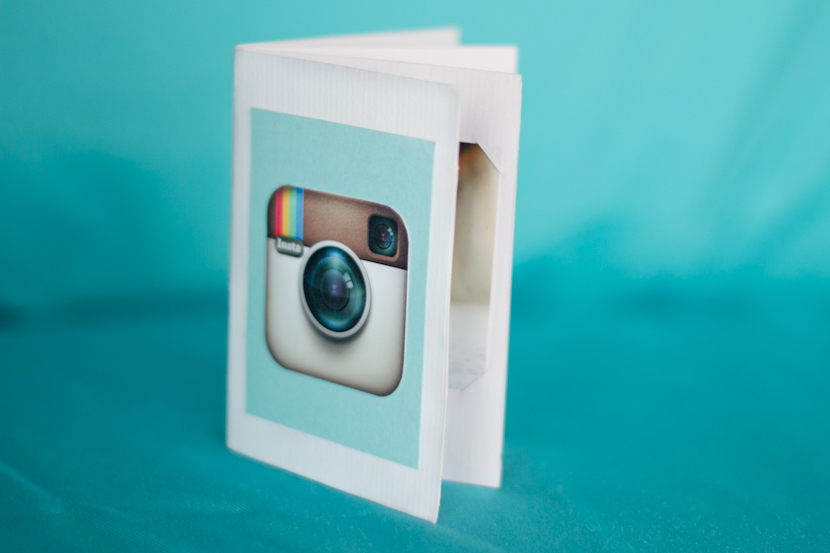
You will need:
– A4 sized craft paper. Any colour you might like!
*Tip: If you are going to use cardboard, please note that it is slightly more challenging to fold as they are thick.
– 6 of your favourite photos.
– A blade, cutting board and a ruler.
– Double-sided tape for the insides. (optional)
We all love our pets, don’t we? We treat them like a member of the family and because we love them so much, we want to take pictures of them. My cat, Cashmere had kittens during Chinese New Year and the kittens have brought a lot of joy to my family. So last Saturday, I decided to have my take on pet photography- not something that I normally do. It turned out to be quite a fun, yet challenging task!
I am not a pro at this, but here’s some tips for pet photography, which I’ve gathered from this experience.
#1. Sedate your pets before the shoot so they will stay still.
I’m kidding! :D
#1. Photograph your pets in their comfort zone.
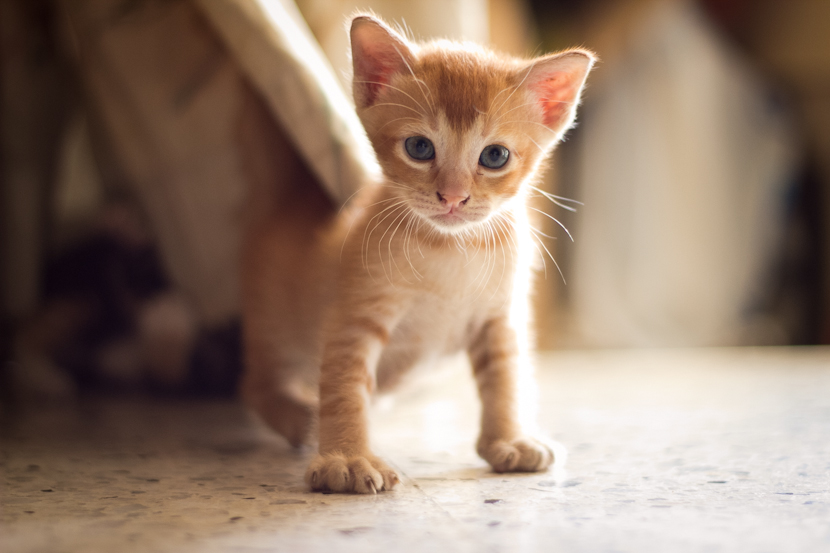
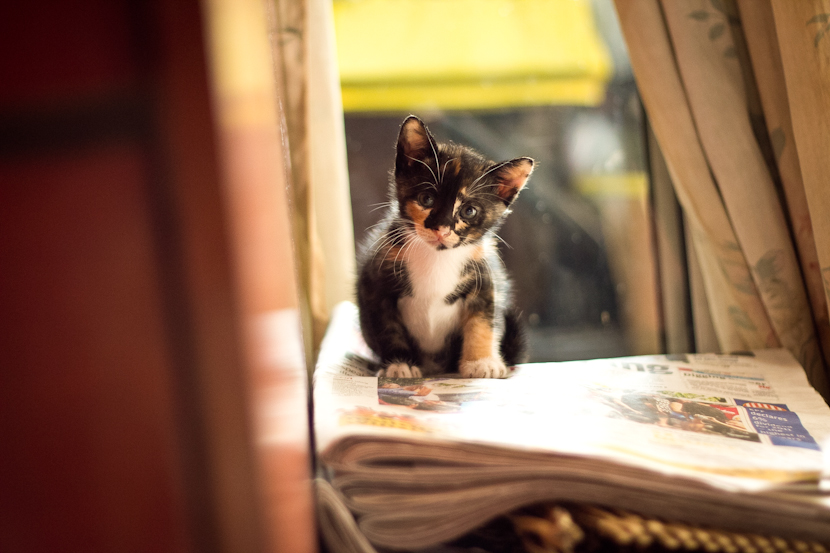
I am sure your pets have their regular “hang out” spots. In my case, my kittens love to play around in my living room, which is where I photographed them. I tried bringing them out to my car porch, thinking there would be more light and space for them to play around but they were just awkward out there. We stayed indoors, but I opened the windows to allow lots of natural light in so I get equally good lighting.
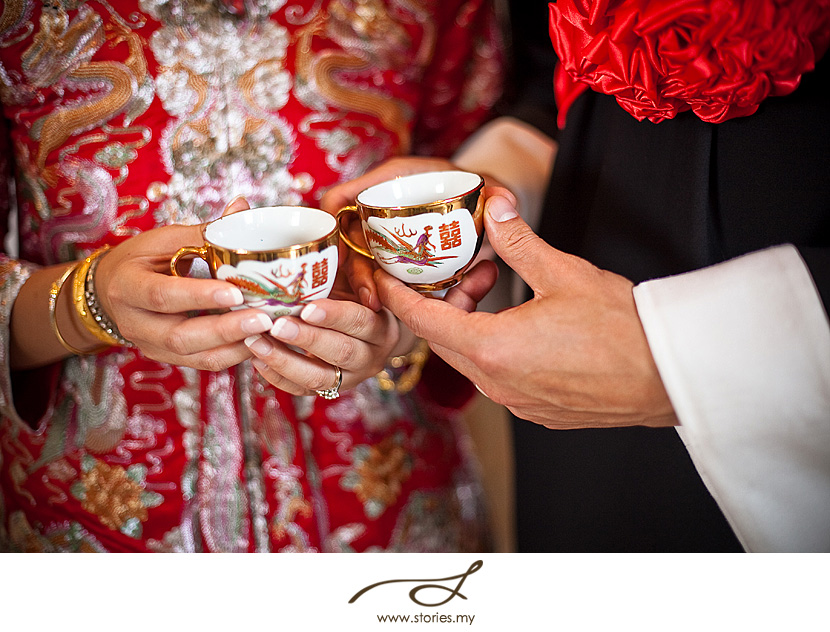
Since we’re all still in Chinese New Year mood, I thought I’d share some tips (from a photographer’s perspective) regarding the tea ceremony that happens at every Chinese wedding. Hope it helps you plan for your tea ceremony!
1. Please prepare a list so you are well organized during the ceremony. You don’t want to accidentally miss that aunt who travelled all the way from Ipoh to attend your wedding. It also enables the ceremony to run smoothly as the next person can prepare their gifts and ang pow before it is their turn.
2. In the past, we’ve photographed a tea ceremony with a large group of about 100 people. And that was only one side of the family! Instead of taking 2 hours for the session, you could speed things up by preparing additional seats – while one couple is being served tea, the next couple is already seated on the 2nd set of chairs, waiting for their turn! One couple we photographed actually created a semi-circle of about 10 seats. Everyone was seated, and the couple made their rounds in an orderly manner.
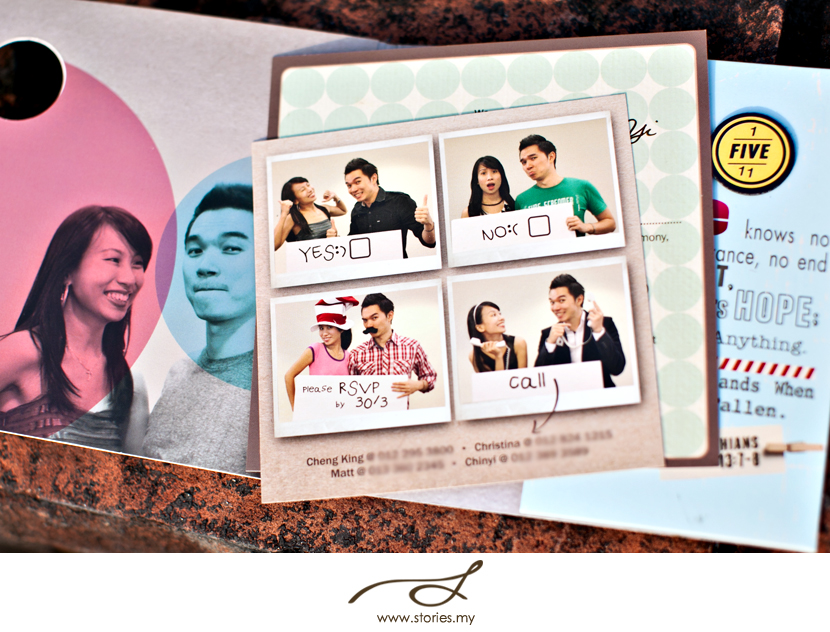
I’d like to share this card design idea that was created for Matt and Chin Yi’s wedding. I was invited as a guest to this wedding, and I absolutely love the creative concept that is behind their wedding invite. It was designed and photographed by their friends. Hope this little post will inspire you while you go about your wedding planning!
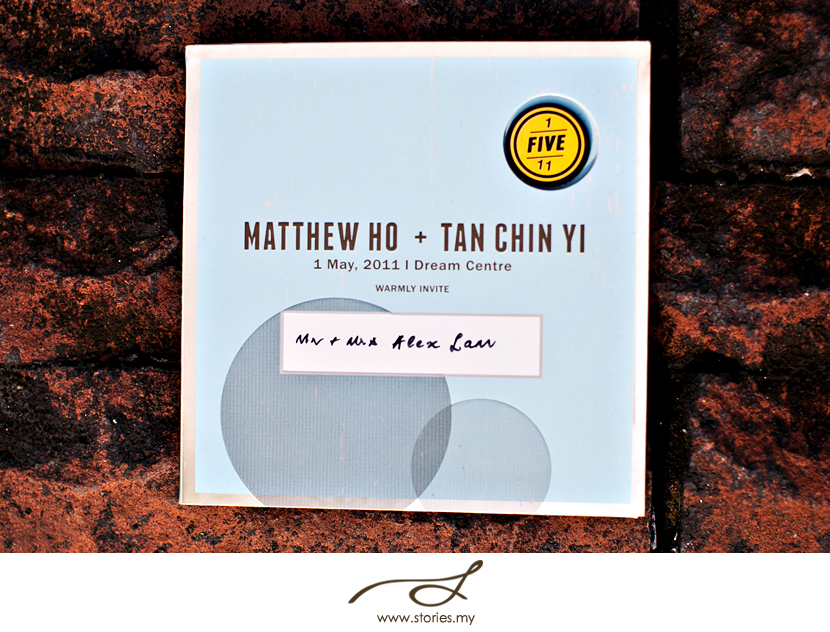
By the way, the little round date on the top right corner is like a pop up button. Kinda cool.

