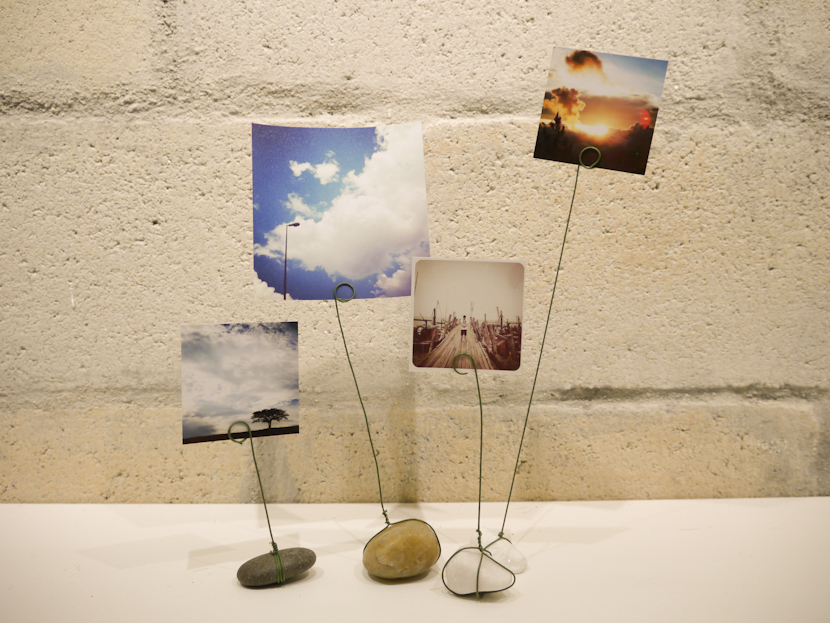
This literally rocks! ;)

This literally rocks! ;)
Since we have moved in to our spanking new unit in SSTwo Mall, we have utilized the studio space quite well, I must say. We have done several shoots here, some of which are for our clients and for training. I had the opportunity to head a studio family portrait session for the lovely Kuan Family, who grabbed their slot during our April – May promo. They came in to the studio clad in white tops, except Helen, who come in gorgeous royal purple. I like this coordination- it makes her stand out. :) Here are some of my favourite shots for the shoot.

I am a big fan of having a good family photo taken. Having done some for Stories recently I’ve learnt that good family portraits takes some preparation. While the photographers worry about how to make you and your family look good, here’s some ideas and suggestions on how you can make the experience better.
1. Complement each other clothing-wise
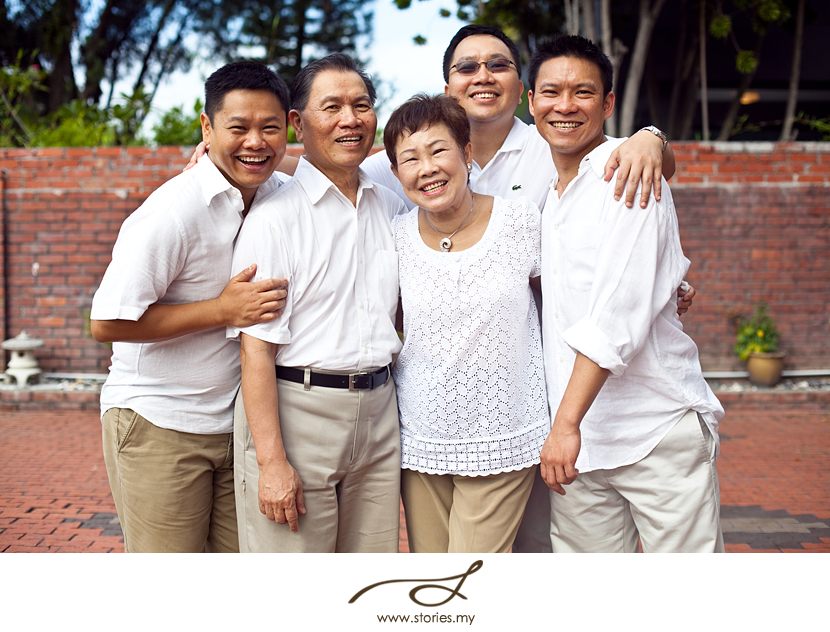
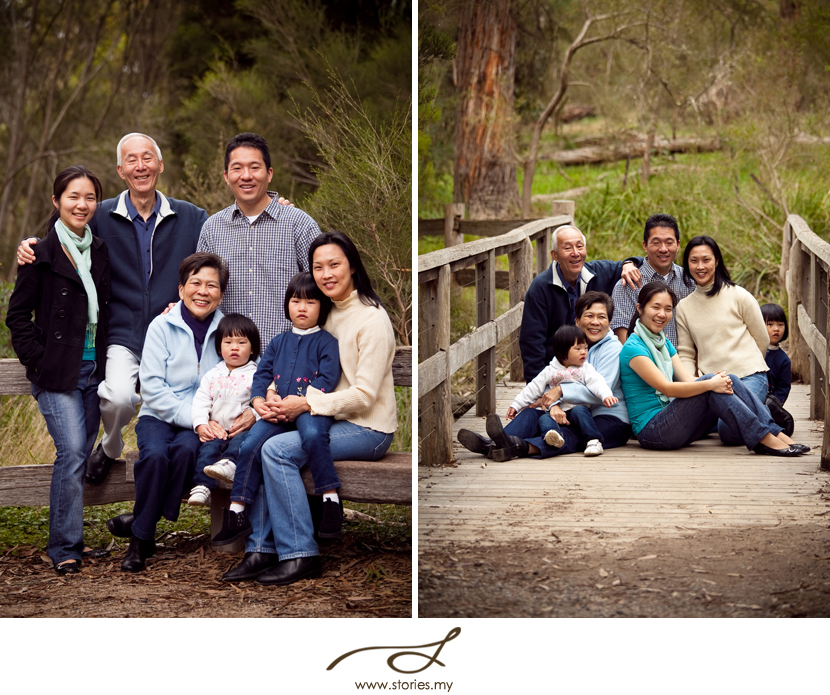
Have your family members dress in clothes that complement each other, like wearing white tops. It doesn’t have to be of the same shade, but it could be in similar tones. If you don’t fancy the idea of being ‘too coordinated’, then we suggest wearing complementary colours, for example, earth tones (includes white, beige, green, yellow), or shades of blue. All-black outfits look a little too formal, so unless you’re going for that look (or an Addams family look), then we recommend staying away from that colour.
Great photos are meant to be shared. Other than uploading them on Facebook and blogs, they should be shared in its’ most traditional form- in print. For me, I find that I am more likely to turn the pages of a ready physical photo album than to access the soft copies from my computer.
In light of that, I would like to show you a quick way to make a simple photo album. They are great as little gifts for your loved ones or simply for keeps. For this simple tutorial, I will be making a pocket-sized photo album, featuring some of my favourite Instagram photos.
Oh, by the way, did you know that Instagram is now available on Android phones as well? :)
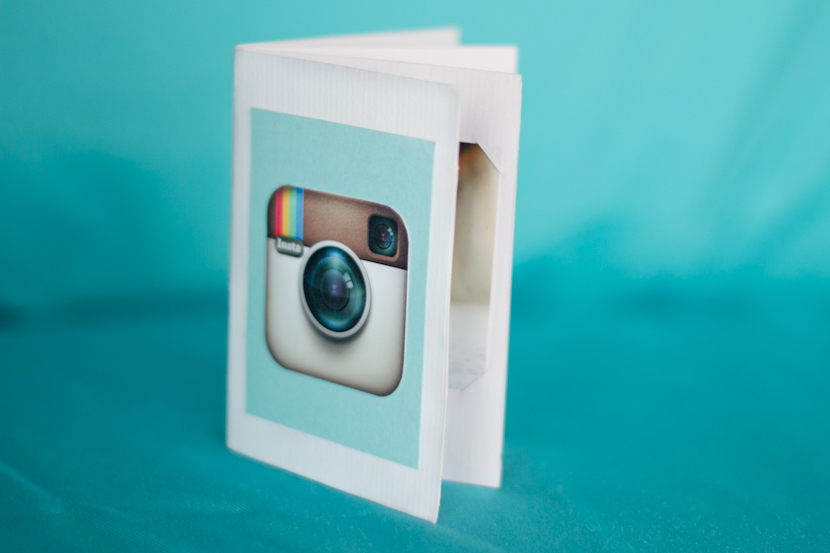
You will need:
– A4 sized craft paper. Any colour you might like!
*Tip: If you are going to use cardboard, please note that it is slightly more challenging to fold as they are thick.
– 6 of your favourite photos.
– A blade, cutting board and a ruler.
– Double-sided tape for the insides. (optional)
We all love our pets, don’t we? We treat them like a member of the family and because we love them so much, we want to take pictures of them. My cat, Cashmere had kittens during Chinese New Year and the kittens have brought a lot of joy to my family. So last Saturday, I decided to have my take on pet photography- not something that I normally do. It turned out to be quite a fun, yet challenging task!
I am not a pro at this, but here’s some tips for pet photography, which I’ve gathered from this experience.
#1. Sedate your pets before the shoot so they will stay still.
I’m kidding! :D
#1. Photograph your pets in their comfort zone.
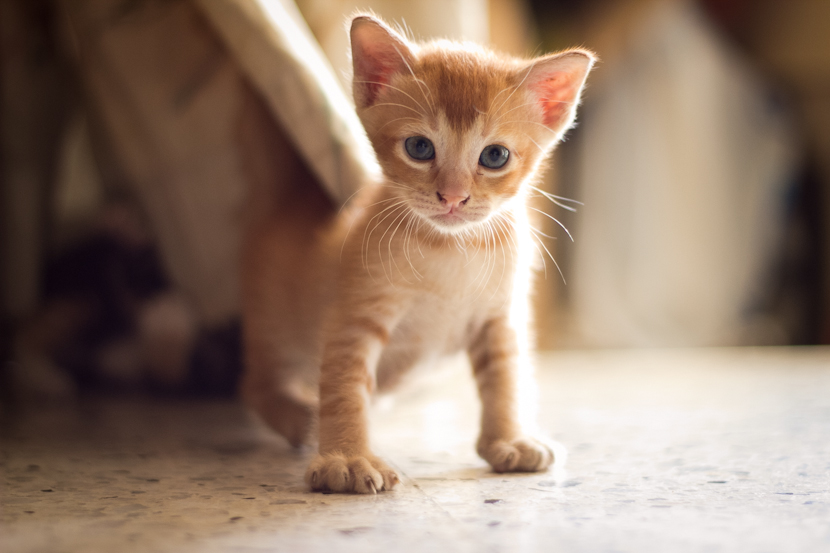
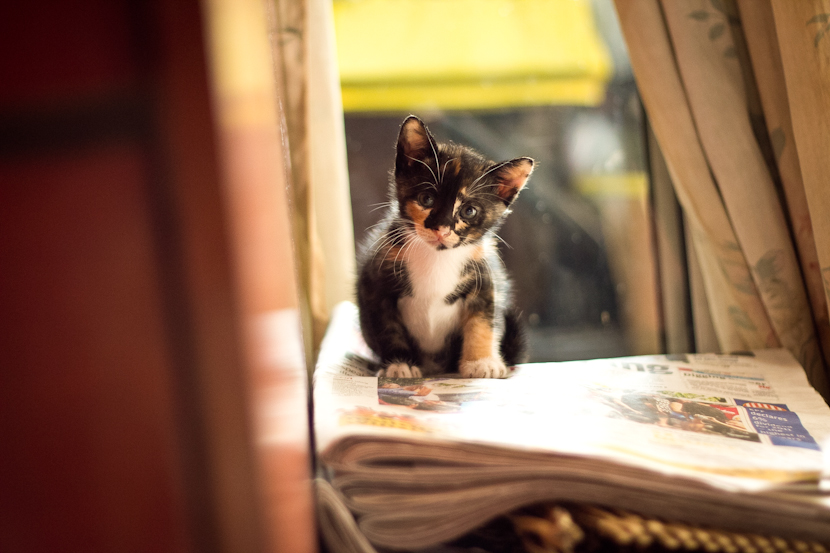
I am sure your pets have their regular “hang out” spots. In my case, my kittens love to play around in my living room, which is where I photographed them. I tried bringing them out to my car porch, thinking there would be more light and space for them to play around but they were just awkward out there. We stayed indoors, but I opened the windows to allow lots of natural light in so I get equally good lighting.