 “Should we do a studio shoot or go outdoors for my family photoshoot?”
Now, that’s probably one of the most common questions photographers get before a family shoot. And honestly? That isn’t exactly the easiest question to answer, as there isn’t a one-size-fits-all answer.
If you were to ask Stories, we’d probably not start by talking about parks or studios. Instead, we’d probably ask you these questions:
Can you please tell me about your family?
How many people are there?
How old are the children?
Will Grandma be joining?
What kind of experience are you hoping for?
Most importantly, what do you want these photos to feel like?
And there’s a reason for these questions.
 What photographers actually think about when you mention ‘location’
Some clients often think that location is the biggest deal breaker for family photoshoots. However, photographers don’t.
When a photographer hears “studio” or “park”, they’re already imagining something different. They’re probably thinking about the lighting, the movement, the mood, and the family dynamics.
And that’s how we at Stories think. Because deciding between a studio and the outdoors isn’t really about choosing a prettier background — it’s about choosing an environment that helps your family relax, connect, and create the kind of memories you actually want to remember years from now.
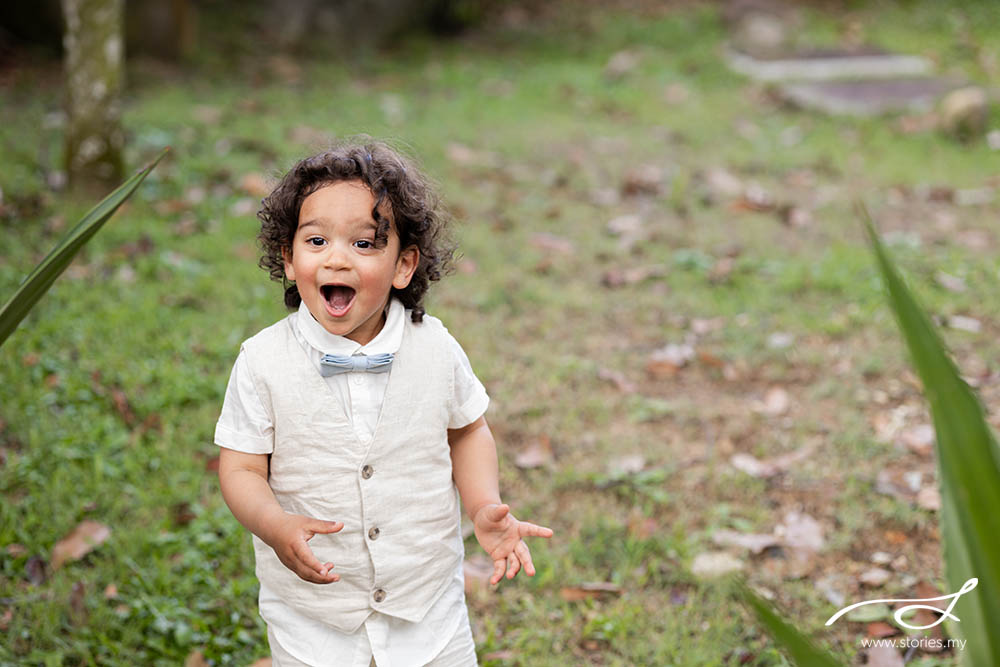
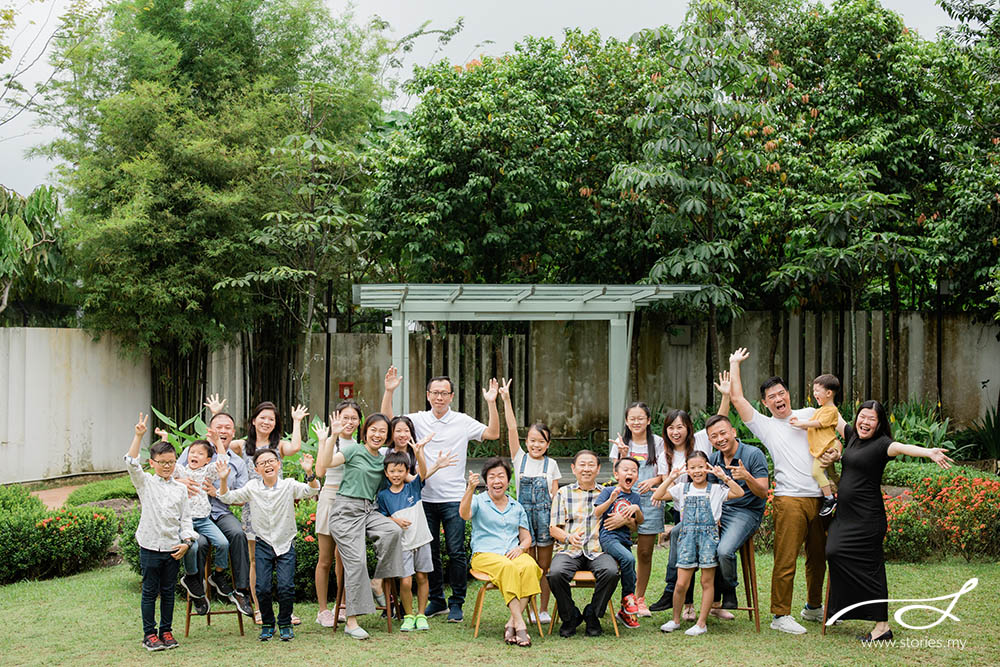
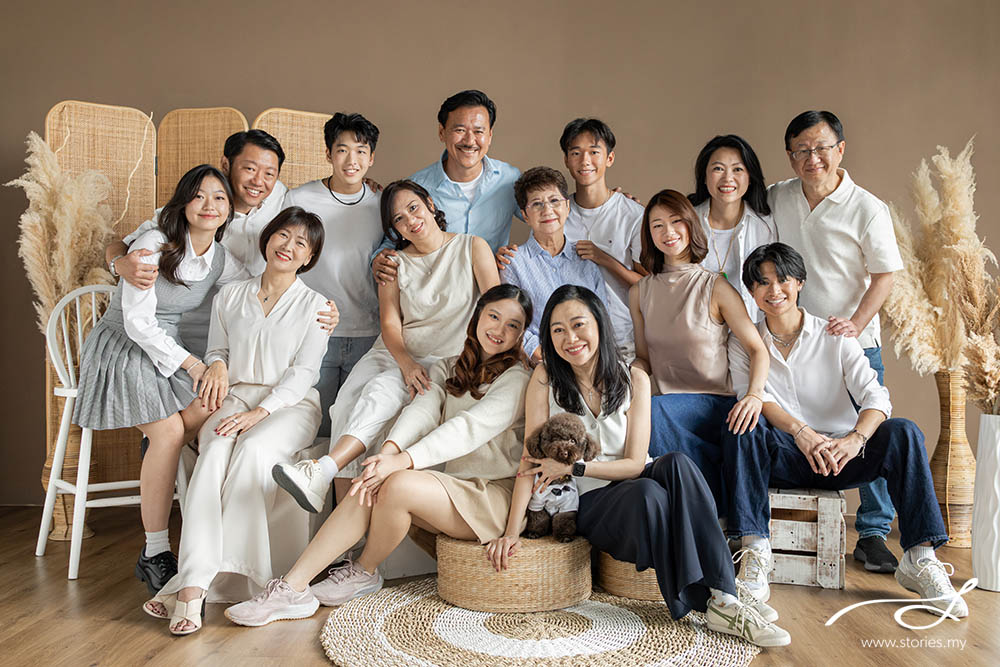
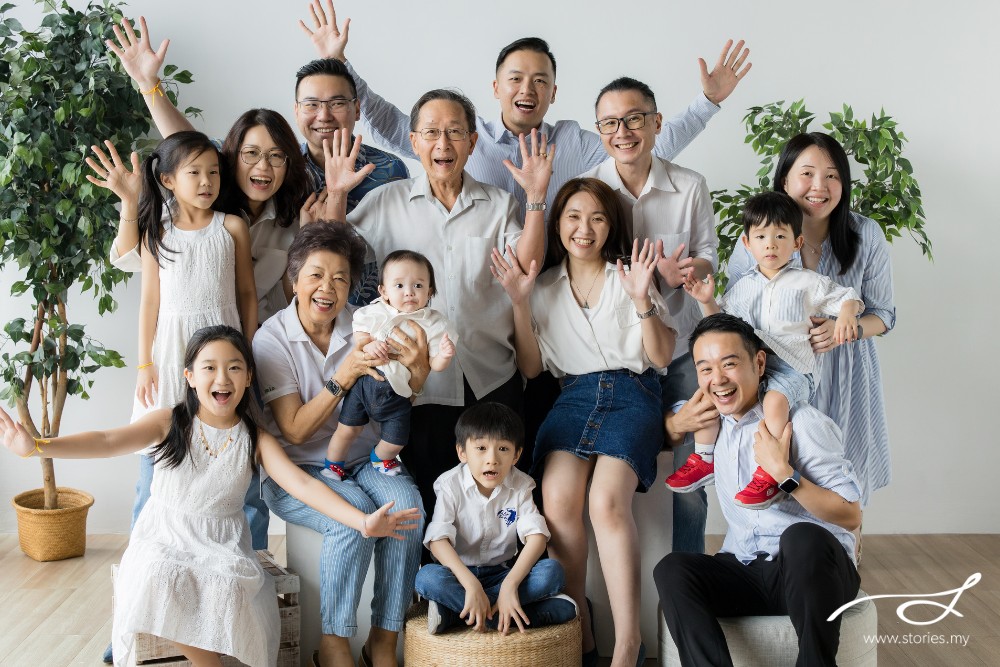
For example, photographing a family of four with energetic toddlers is very different from photographing 20 extended family members, including a 90-year-old grandmother in a wheelchair. A beautiful park might sound lovely, but if getting everyone there becomes exhausting, those tired faces will show up in the photos, too.
Again, the location isn’t the star of the photo. The family is. The location simply helps bring the story to life. But there is no harm in looking a little deeper to figure out which setup is the best for your family photoshoot.
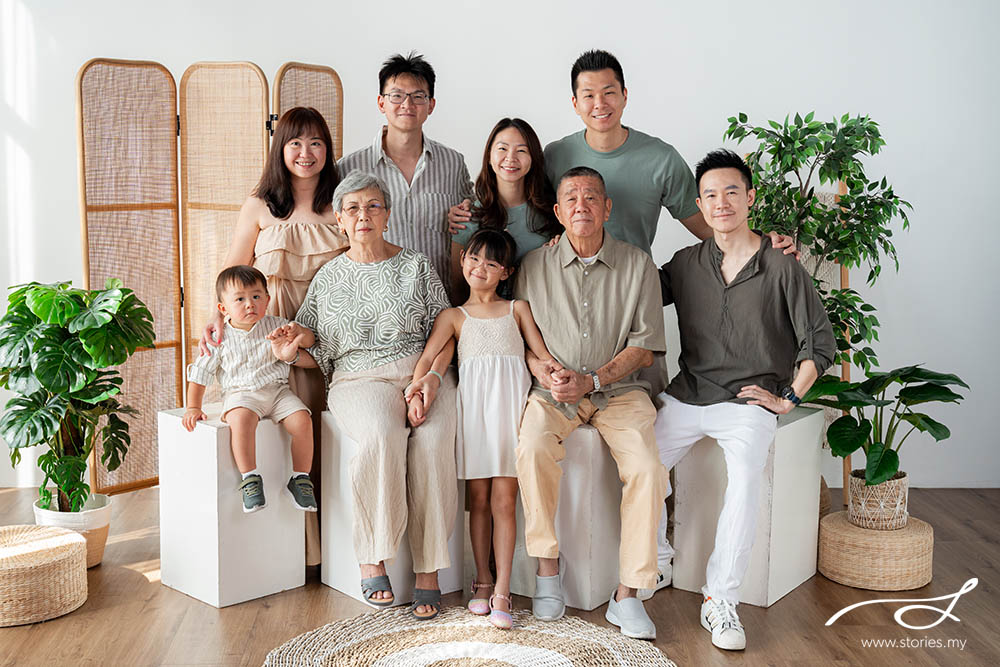
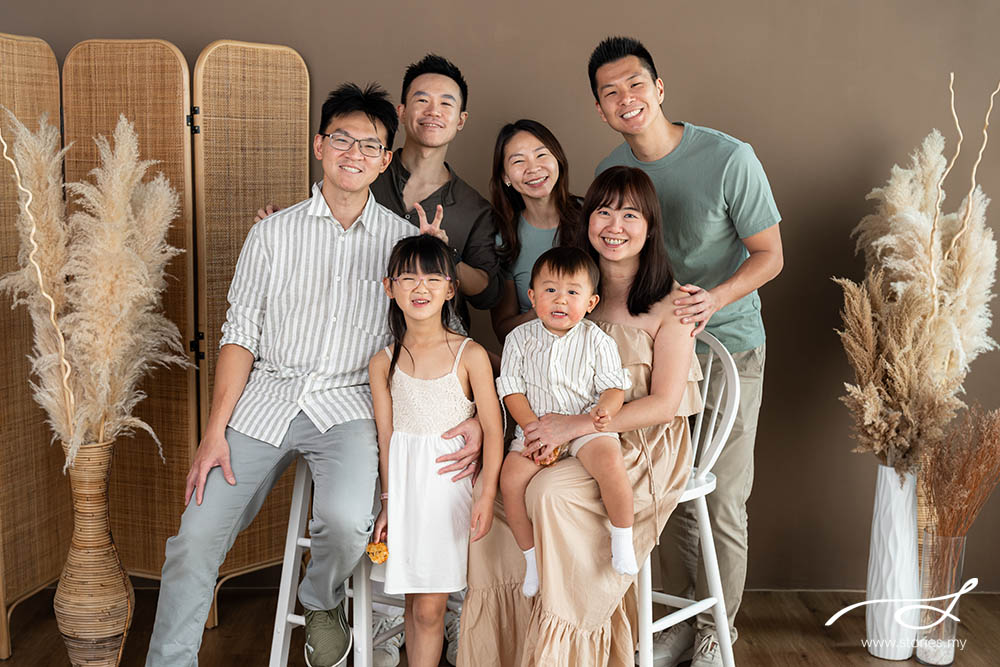
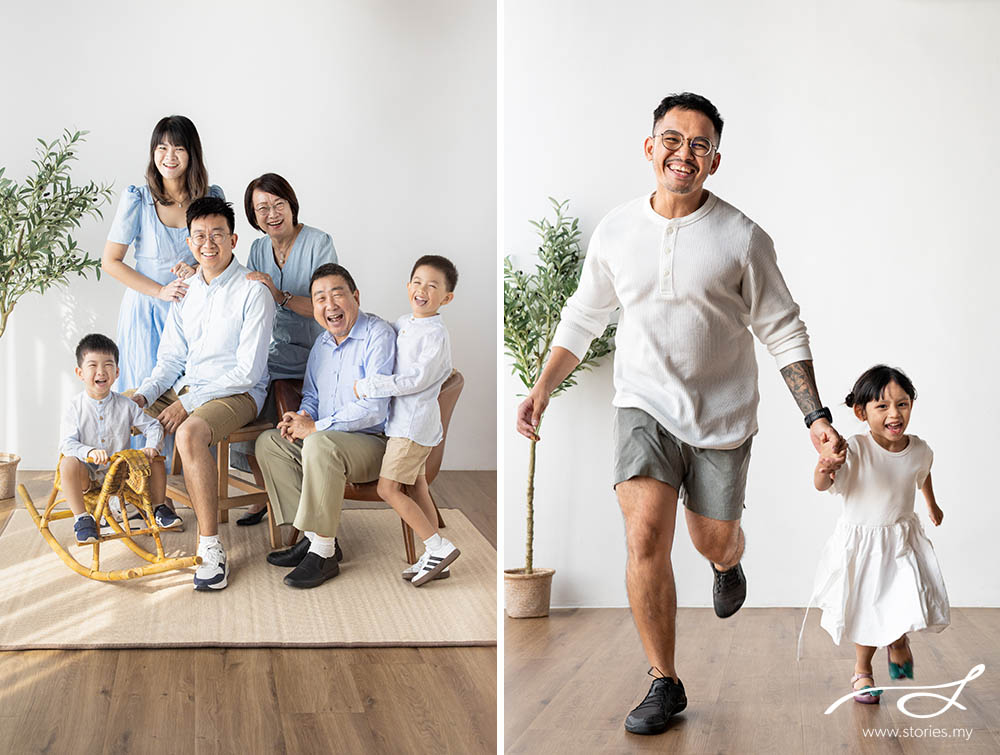
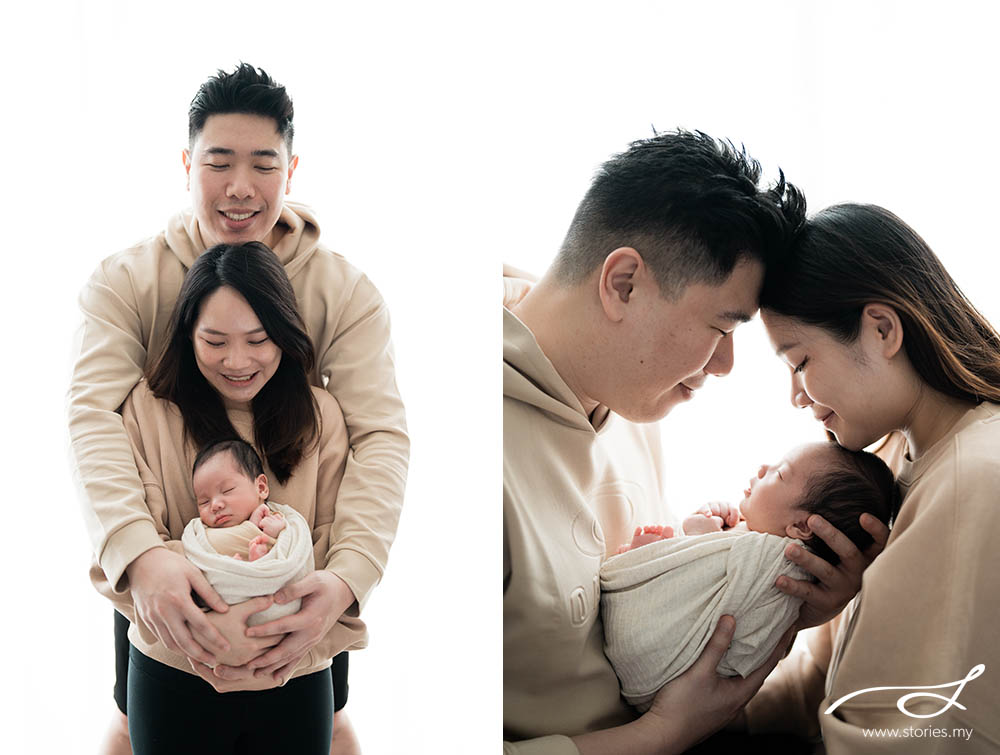
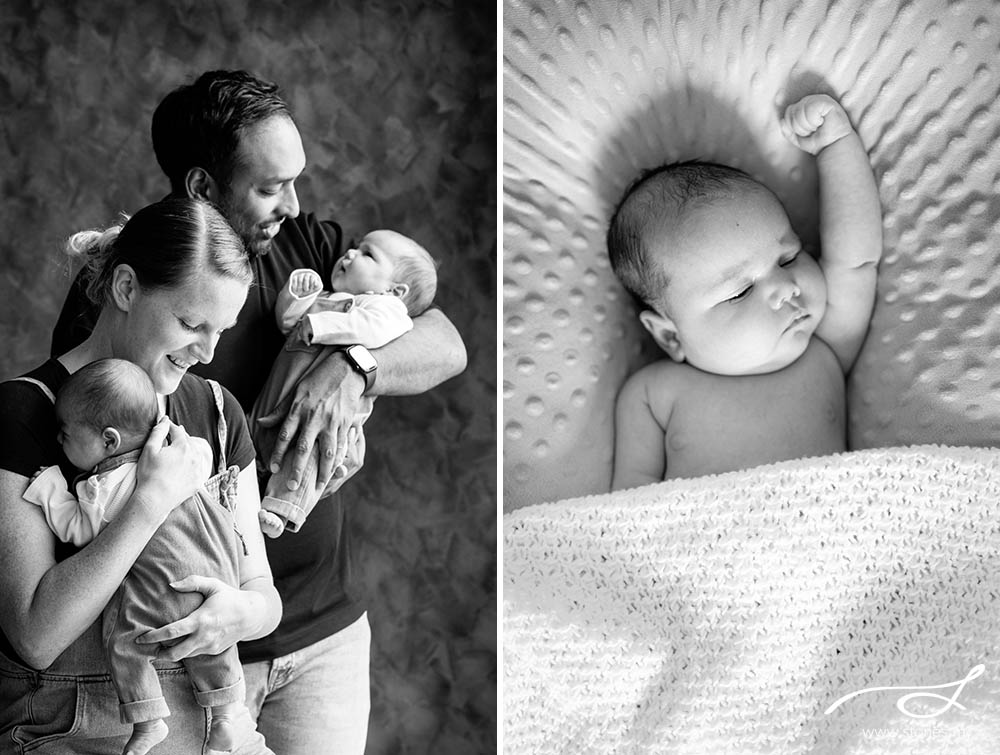
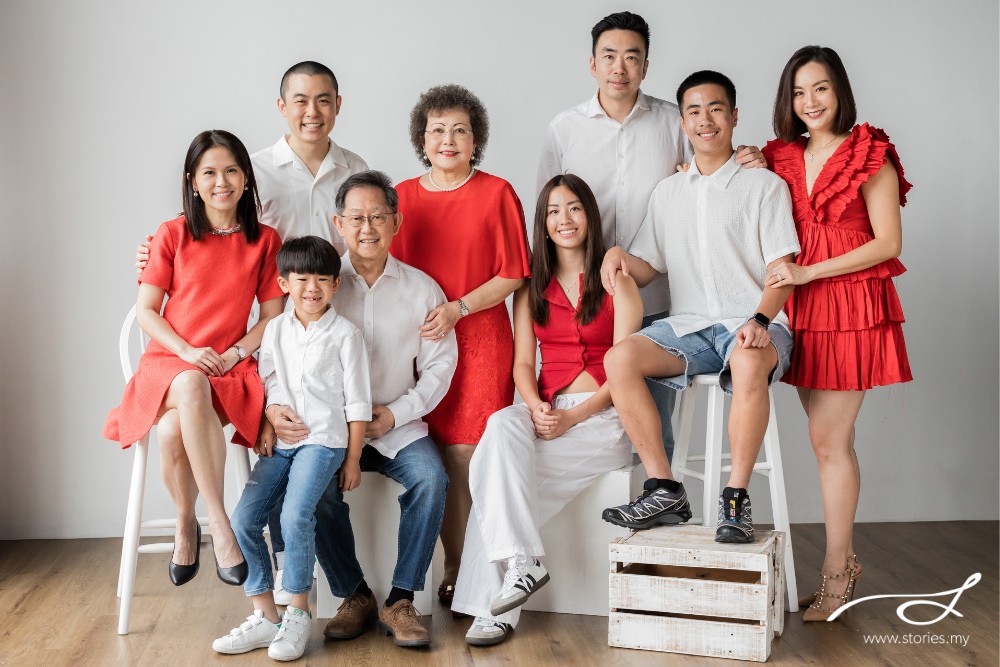
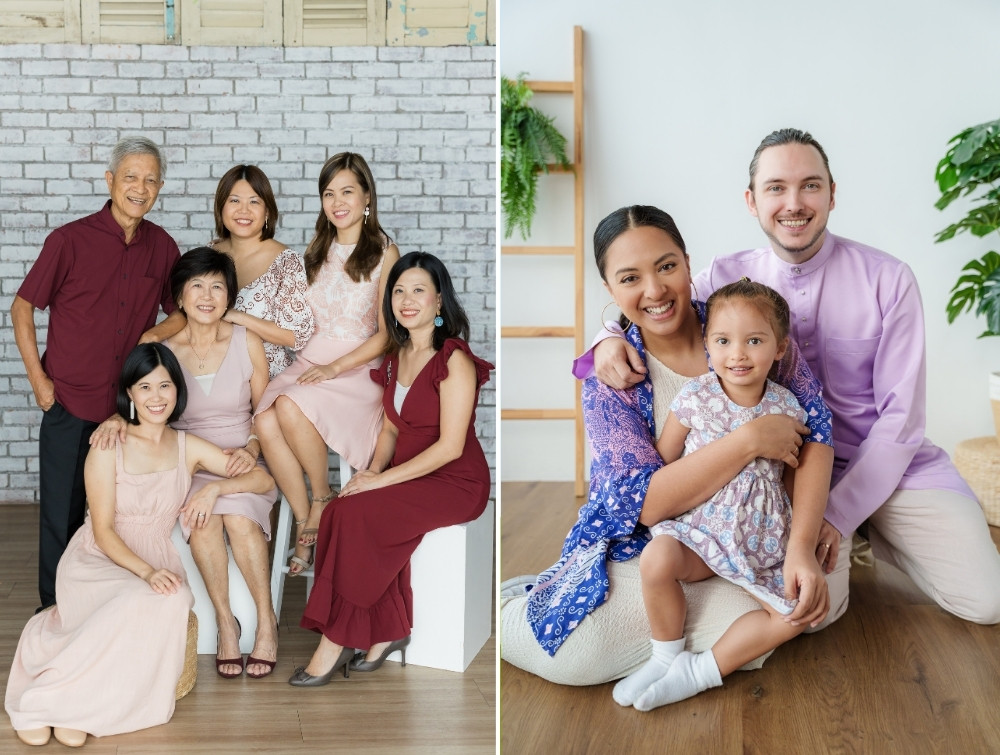
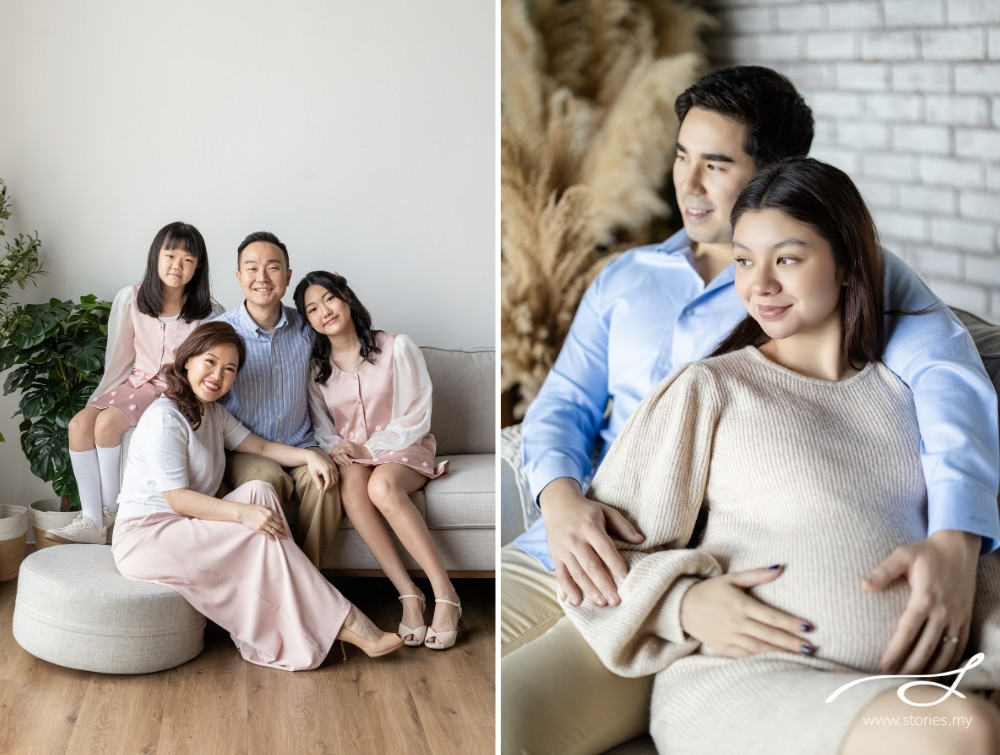
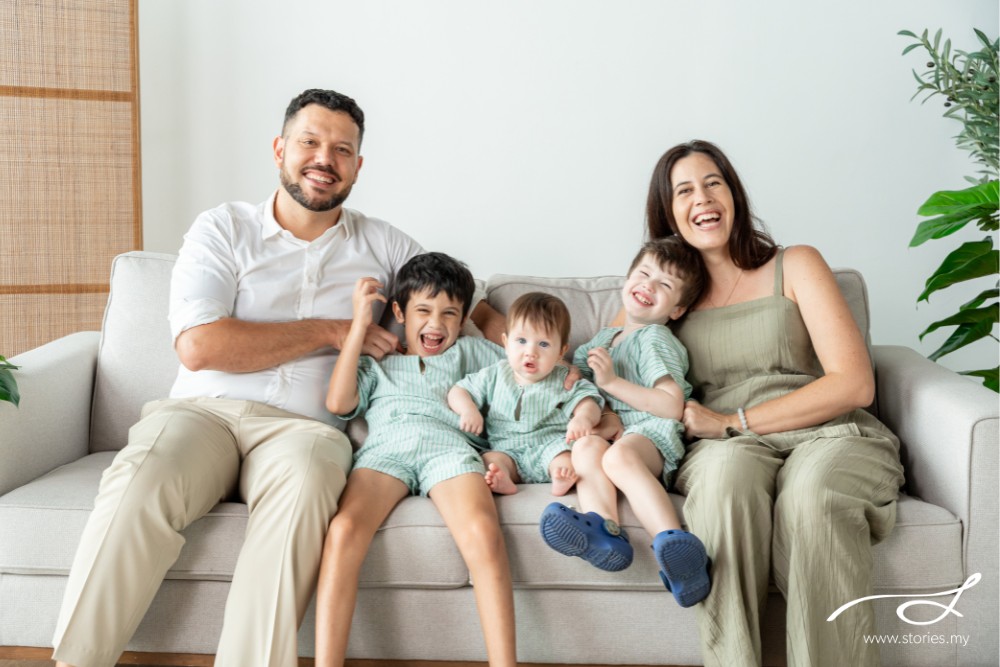
 A family photoshoot in a studio
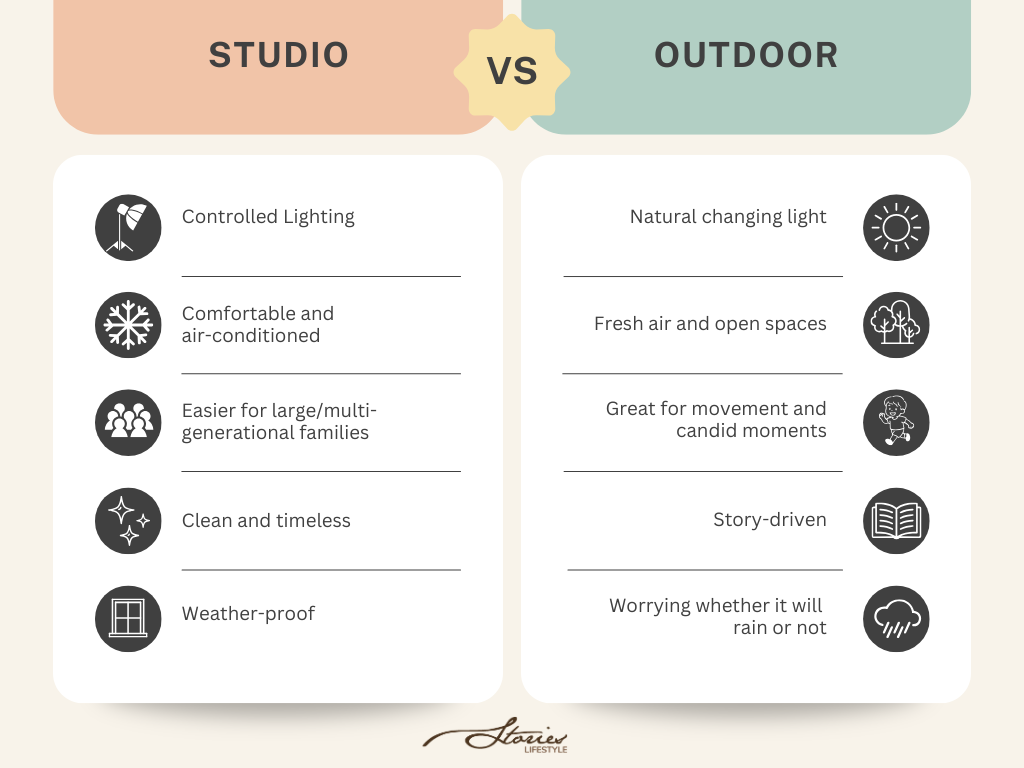
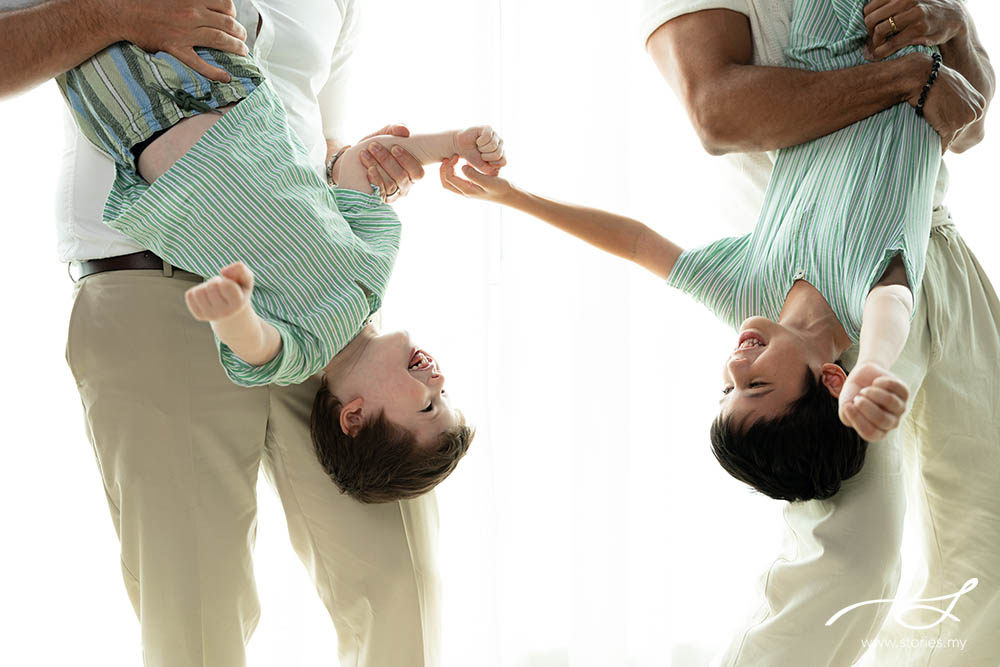
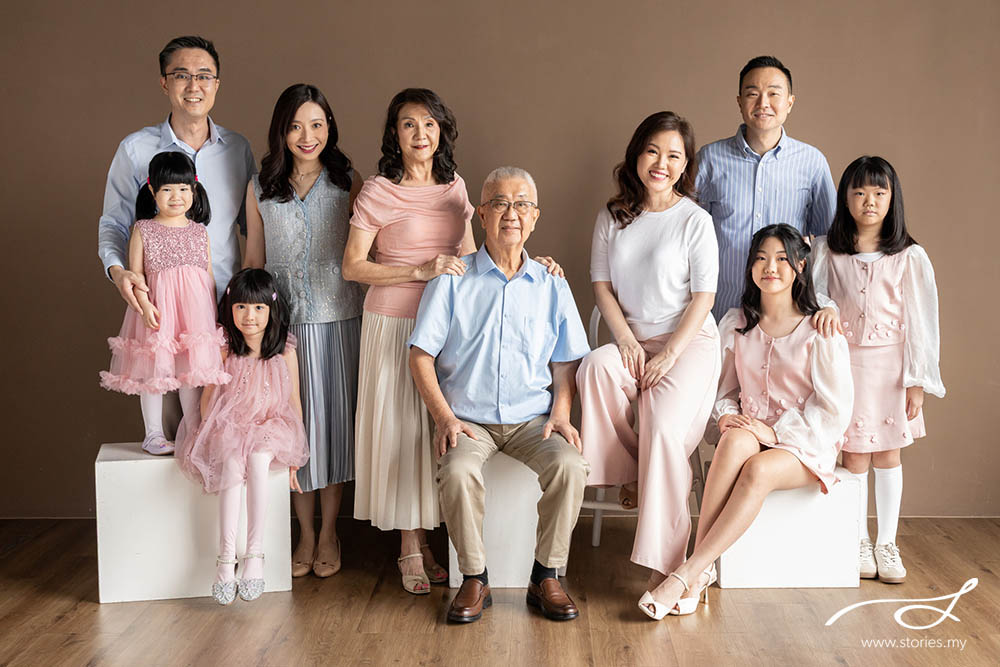
A session in the studio = Reassurance and comfort.
The temperature is cool. Nobody is sweating before, during, or after the session. You don’t have to wonder if it’s going to rain. There aren’t any mosquitoes or random strangers walking past you in the background. The best part? There’s a nice, clean toilet at your disposal (every Malaysian knows the pain of finding clean, dry toilets at our local parks).
It’s safe to say that everything feels manageable.
For photographers, a studio offers something valuable: control. We have a beautiful natural light studio, but on gloomy days, studio lighting can be added.
However, there might be a concern that studios are “boring”. And we’re here to tell you that isn’t the case.
In fact, creativity can sometimes be more challenging when you keep doing sessions in the same space, but that can push photographers (especially us) to see a familiar space in new ways.
That’s not all; studios can make life easier for your family. Young children have a contained, safe space to run around. Elderly parents don’t have to walk long distances. Families with members who need quiet breaks, such as autistic children, have a space to pause before jumping back into the session.
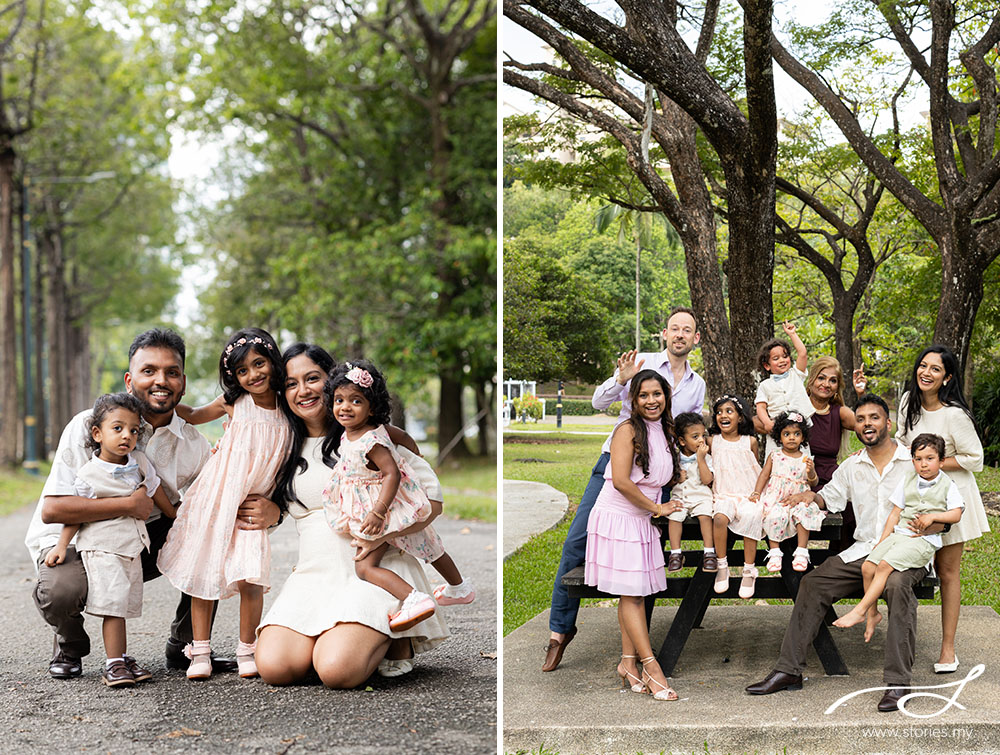
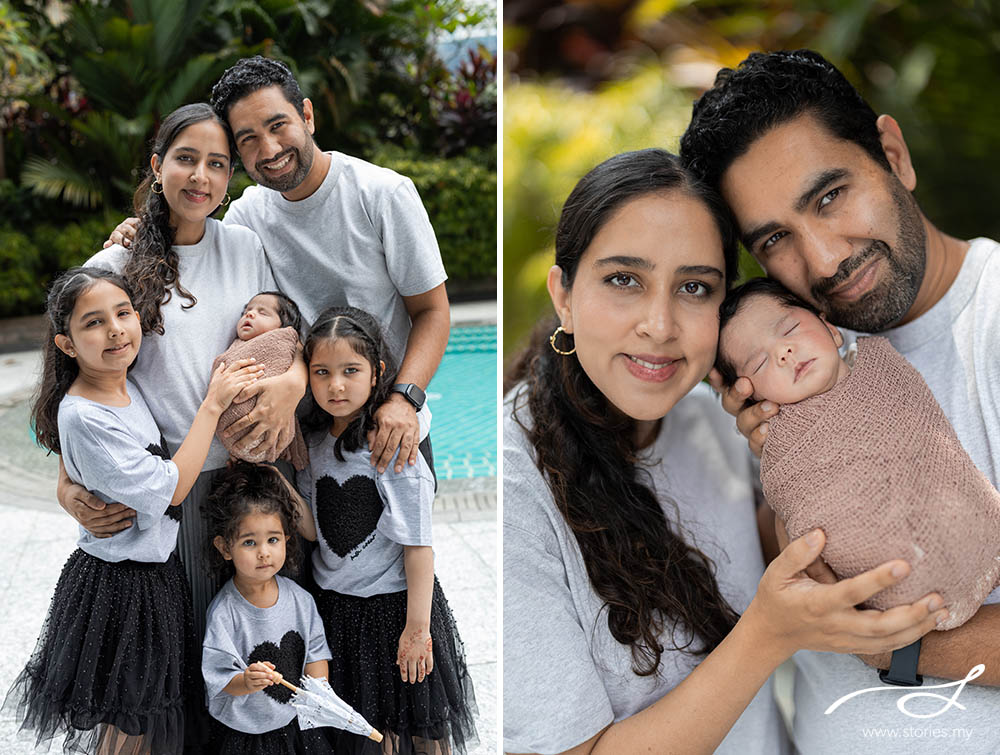
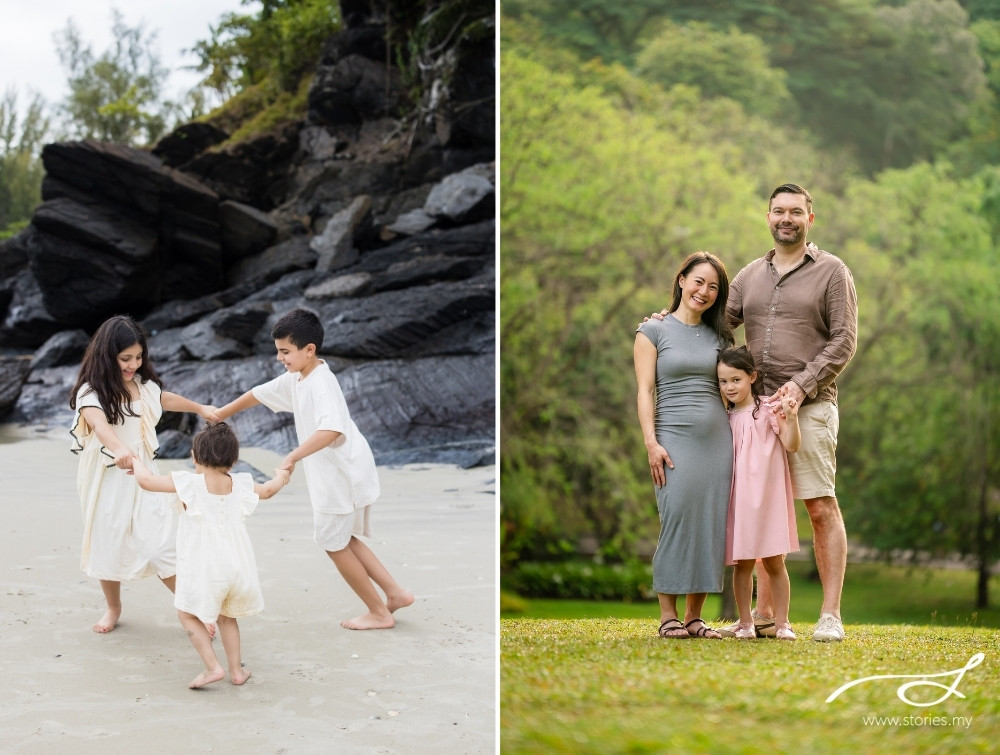
 The outdoors: When the setting tells part of the story
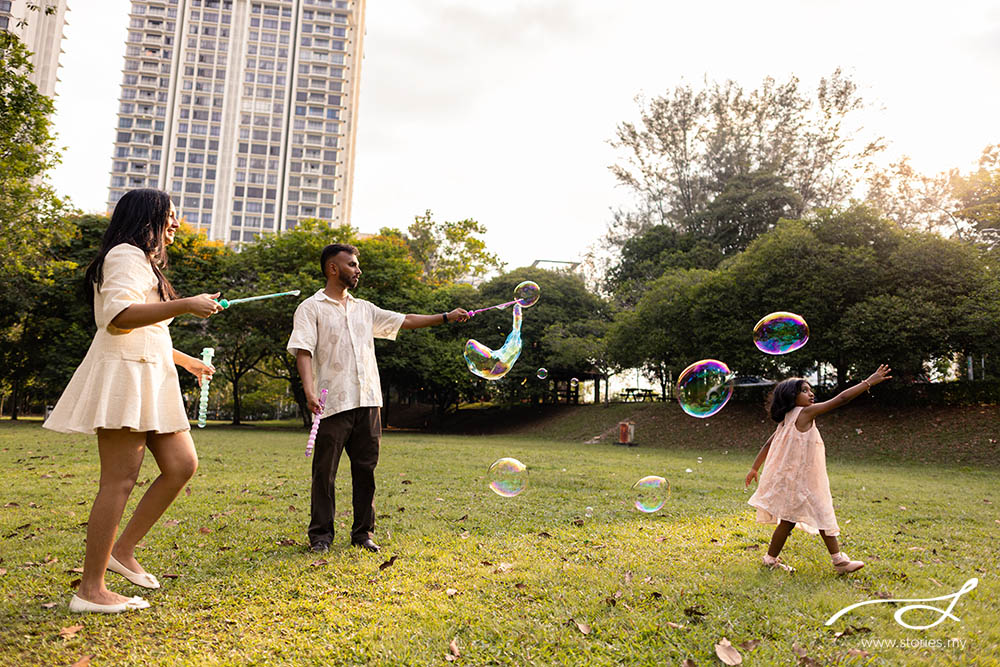
For outdoor shoots, there’s a different type of magic — the environment becomes part of your story.
Instead of simply serving as a backdrop, the location adds context to your photos. It could be your favourite park or even your family home. These places often hold memories long before the photoshoot begins, making the photos feel even more personal.
Outdoor shoots also naturally encourage movement. There’s more room for children to run, parents to walk hand in hand, or families to simply interact without feeling confined to one spot.
However, of course, outdoor shoots also come with less control. Lighting changes through the session, the weather can be unpredictable, and in Malaysia, heat and humidity are all part of the experience. But that’s not all; we’d recommend shooting early in the mornings — as early as 7 a.m., when the light is softer and the weather is cooler.
Outdoor photography works beautifully for families who enjoy being active, prefer candid moments over posed portraits, or simply want their photos to capture a particular place that’s meaningful to them.
 So…which setting is better for your family photoshoot?
It’s like asking whether coffee is better hot or iced.
Neither is better. They’re simply made for different moments.
A studio offers comfort, consistency, and complete creative control. It’s ideal for families who value convenience, have younger babies or children, elderly relatives, or anyone who wants a relaxed, stress-free experience.
An outdoor shoot offers movement, personality, and storytelling. It’s perfect for families who love candid interactions and don’t mind embracing a little unpredictability along the way.
Here’s a simpler way to think about it:
 At the end of the day, the “better” location is the one that helps your family feel like themselves because years from now, you probably won’t remember whether the photos were taken in a studio or at a park — you’ll remember how everyone laughed.
And that’s what a great family photography session is all about.
Are you ready to plan your family photoshoot? Get in touch with us! We’d love to help you find the perfect setting for your story.
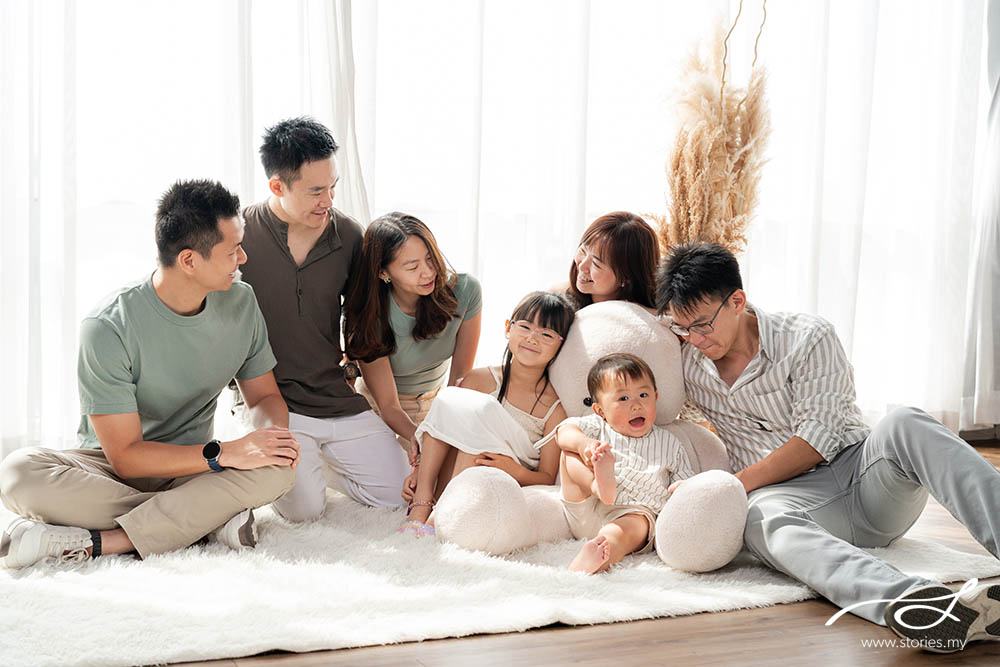
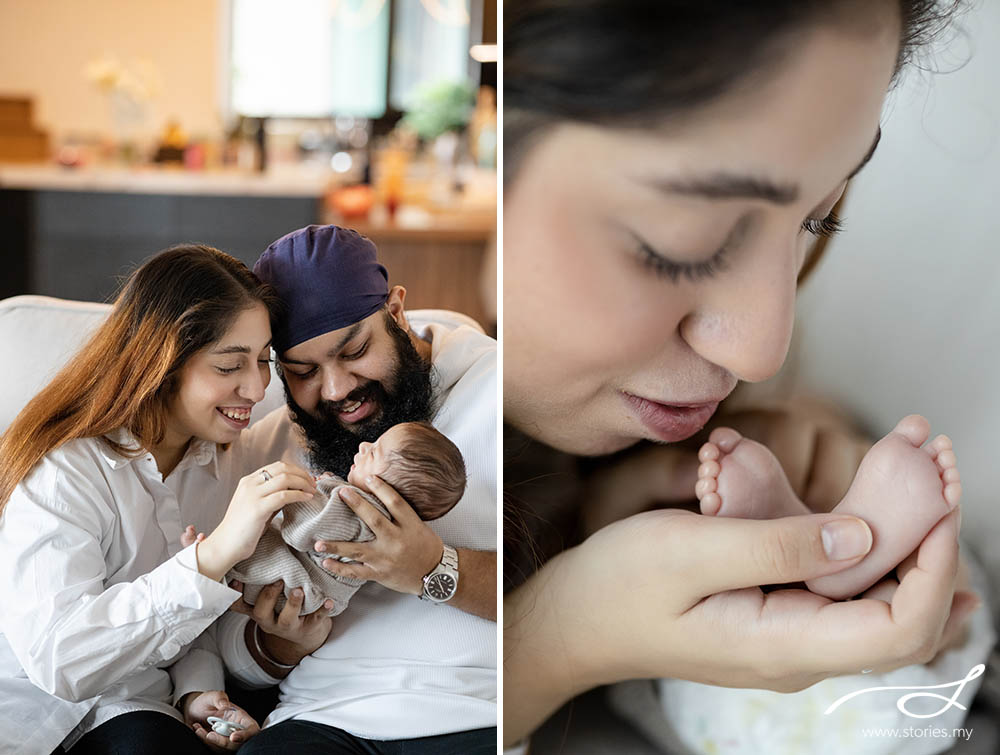
 Family photoshoots can get…extremely chaotic.
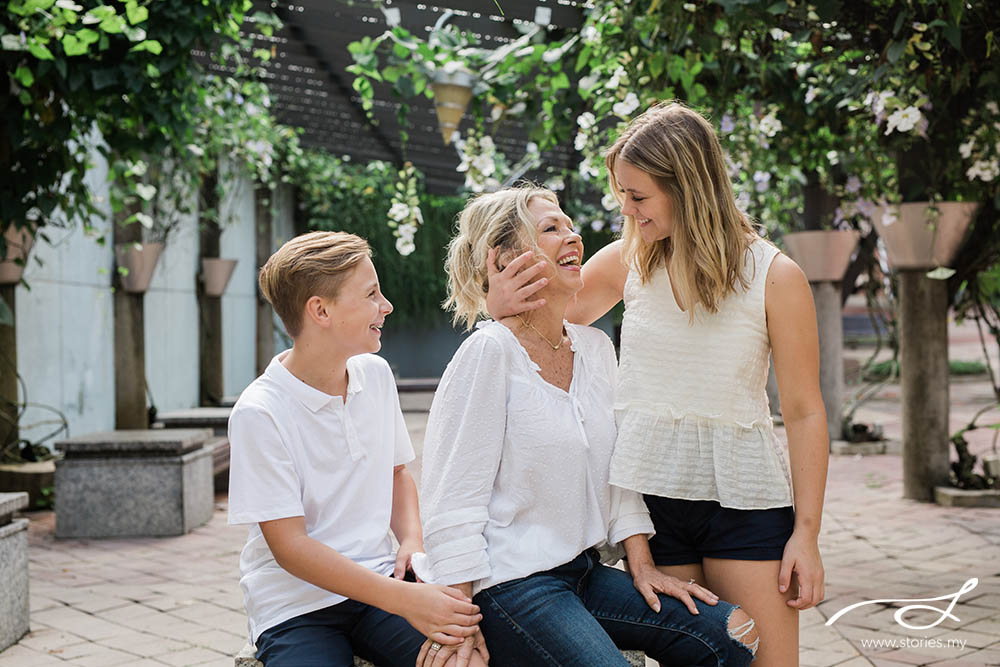
 Wrapping up the session
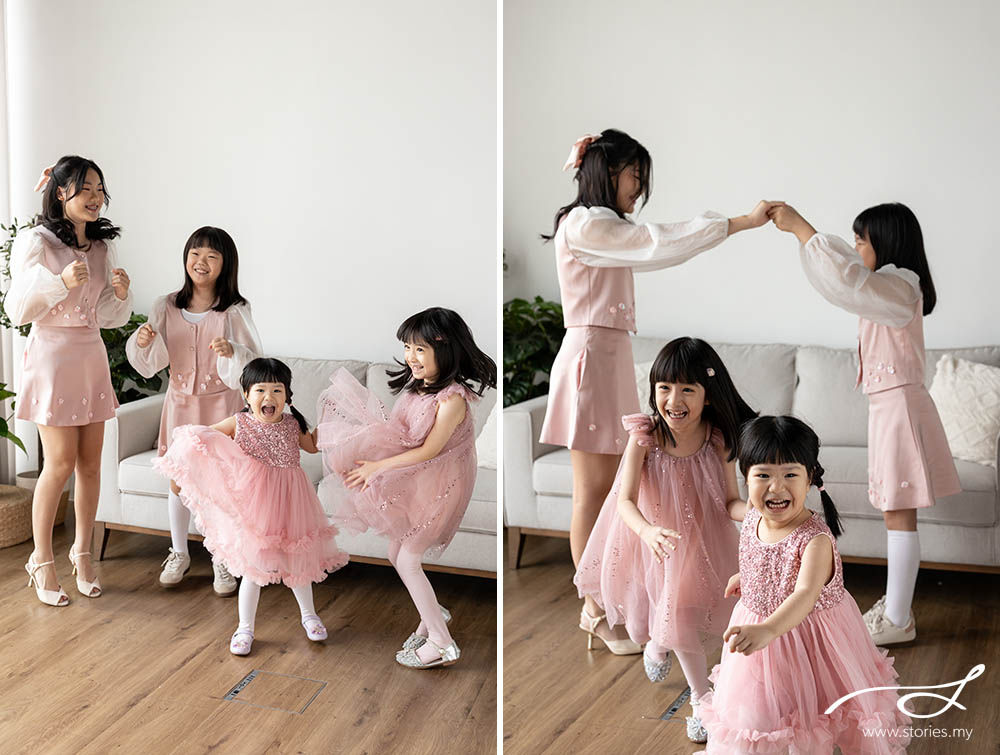


 You don’t have to go all in, but it works nicely as a base or layered with softer tones. And if nothing else, it’s a very safe option when no one can decide what to wear.
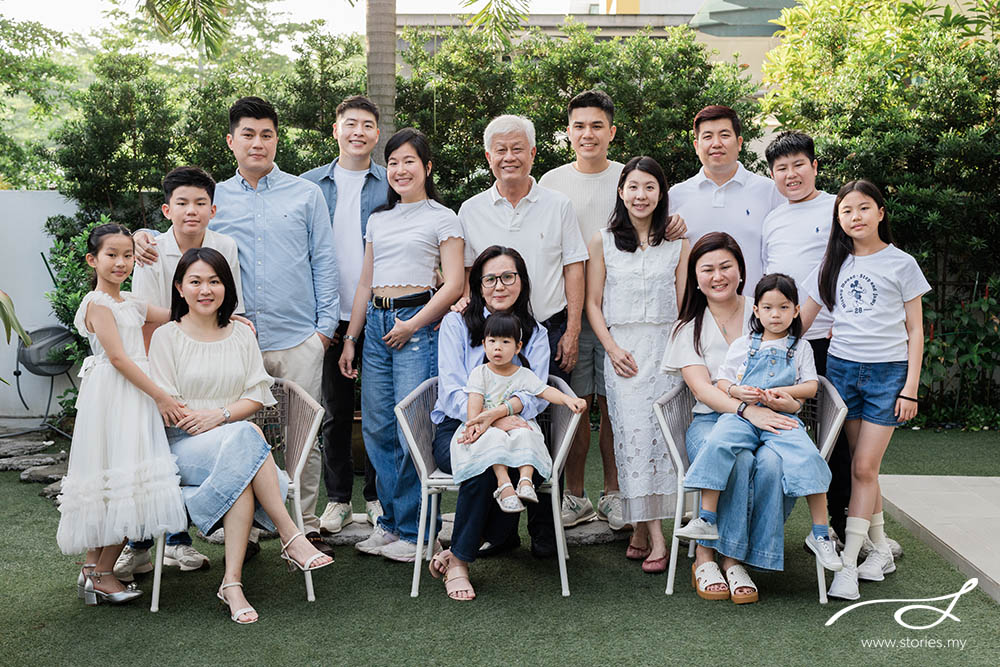
 3. Create layers to add depth and interest
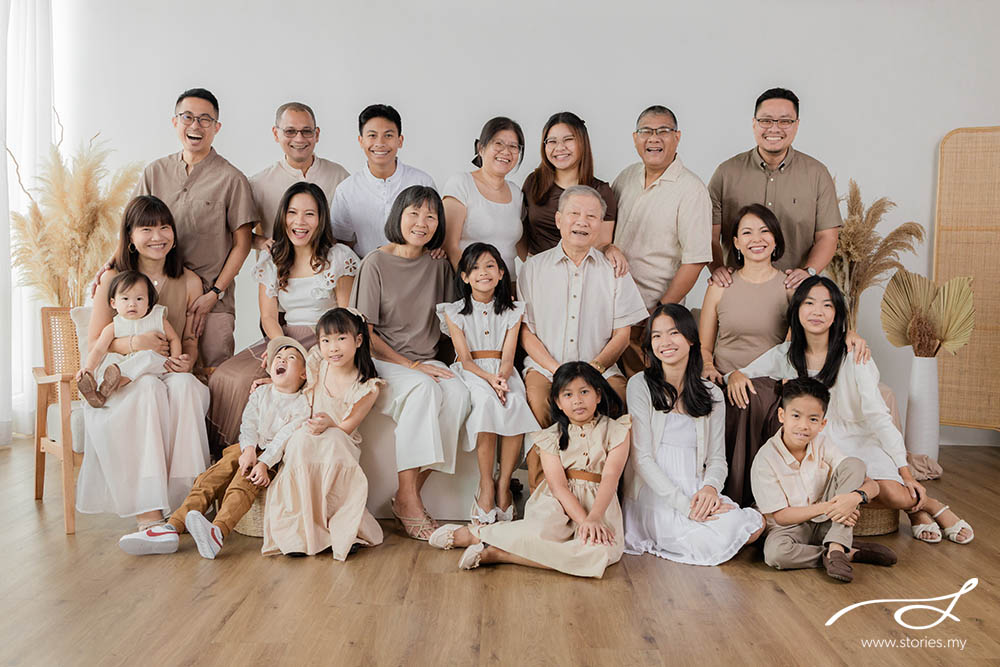 4. Look for triangles and varied heights
 5. Using a sofa without making it look boring
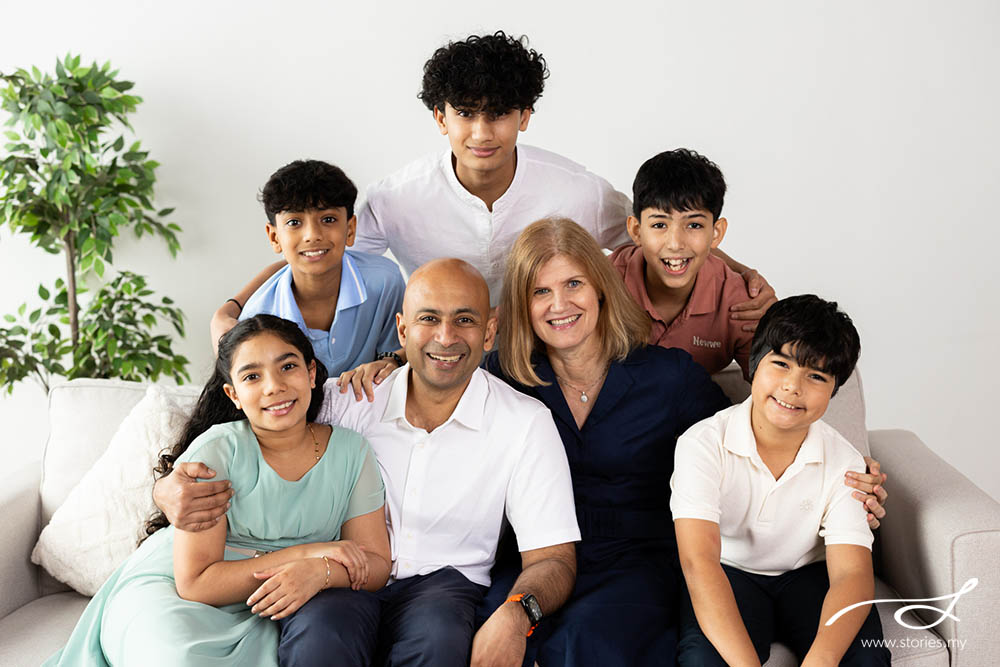 6. Keep faces close and take a test shot
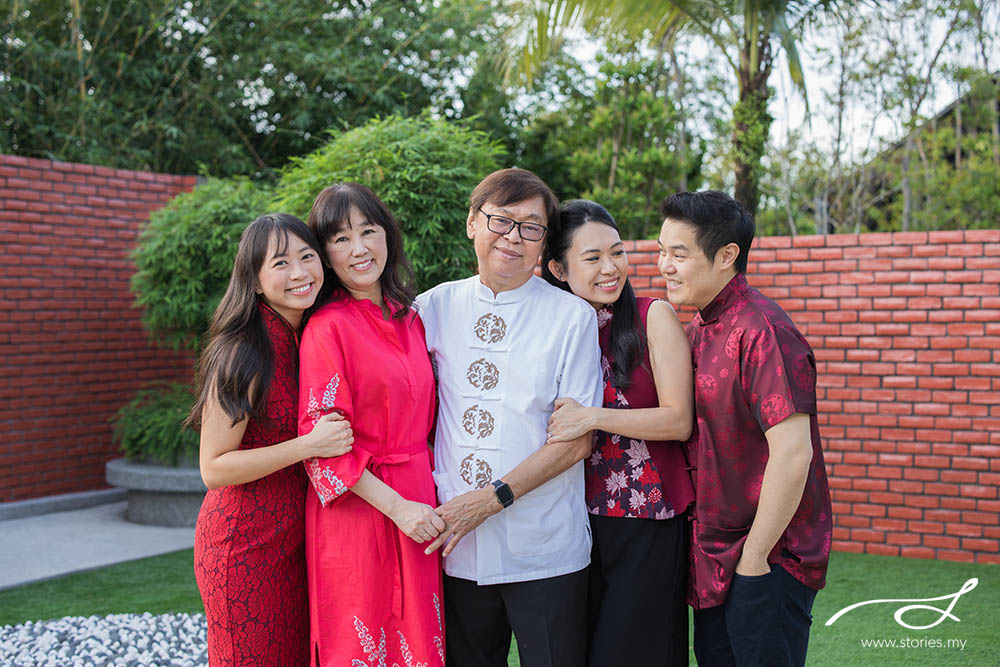 A final thought